

Pat me on the back, I have officially sorted your Christmas breakfast. Well, that is provided you like chocolate for breakfast, and given that my all time favourite breakfast cereal is cocopops, you know I do.

Can you imagine, getting up on Christmas morning and opening your stocking as the beautiful smell of baking drifts around the house. Then sitting down to a soft, warm, chocolately breakfast bun, punctuated with the crunch of hazelnuts? Let’s make it happen!

And best of all, you can do the preparation the night before and all you’ll have to do in the morning is pop them in the oven. I can’t imagine anything more perfect!
I’ve always been a little intimidated by the idea of yeasted buns (think sticky sweet cinnamon or chelsea buns). I was especially put off by the idea of having to get up at 6 am to make the dough and leave it to rise if I wanted them for breakfast. But that was before Debs at Smitten Kitchen introduced me to the wonders of the overnight prove.

Leaving the dough in the fridge overnight for its second prove means that you can leap out of bed in the morning and in less than an hour (with no effort whatsoever) have a seriously awesome breakfast on the table. This is especially exciting when you have a houseful of people waiting to be fed.
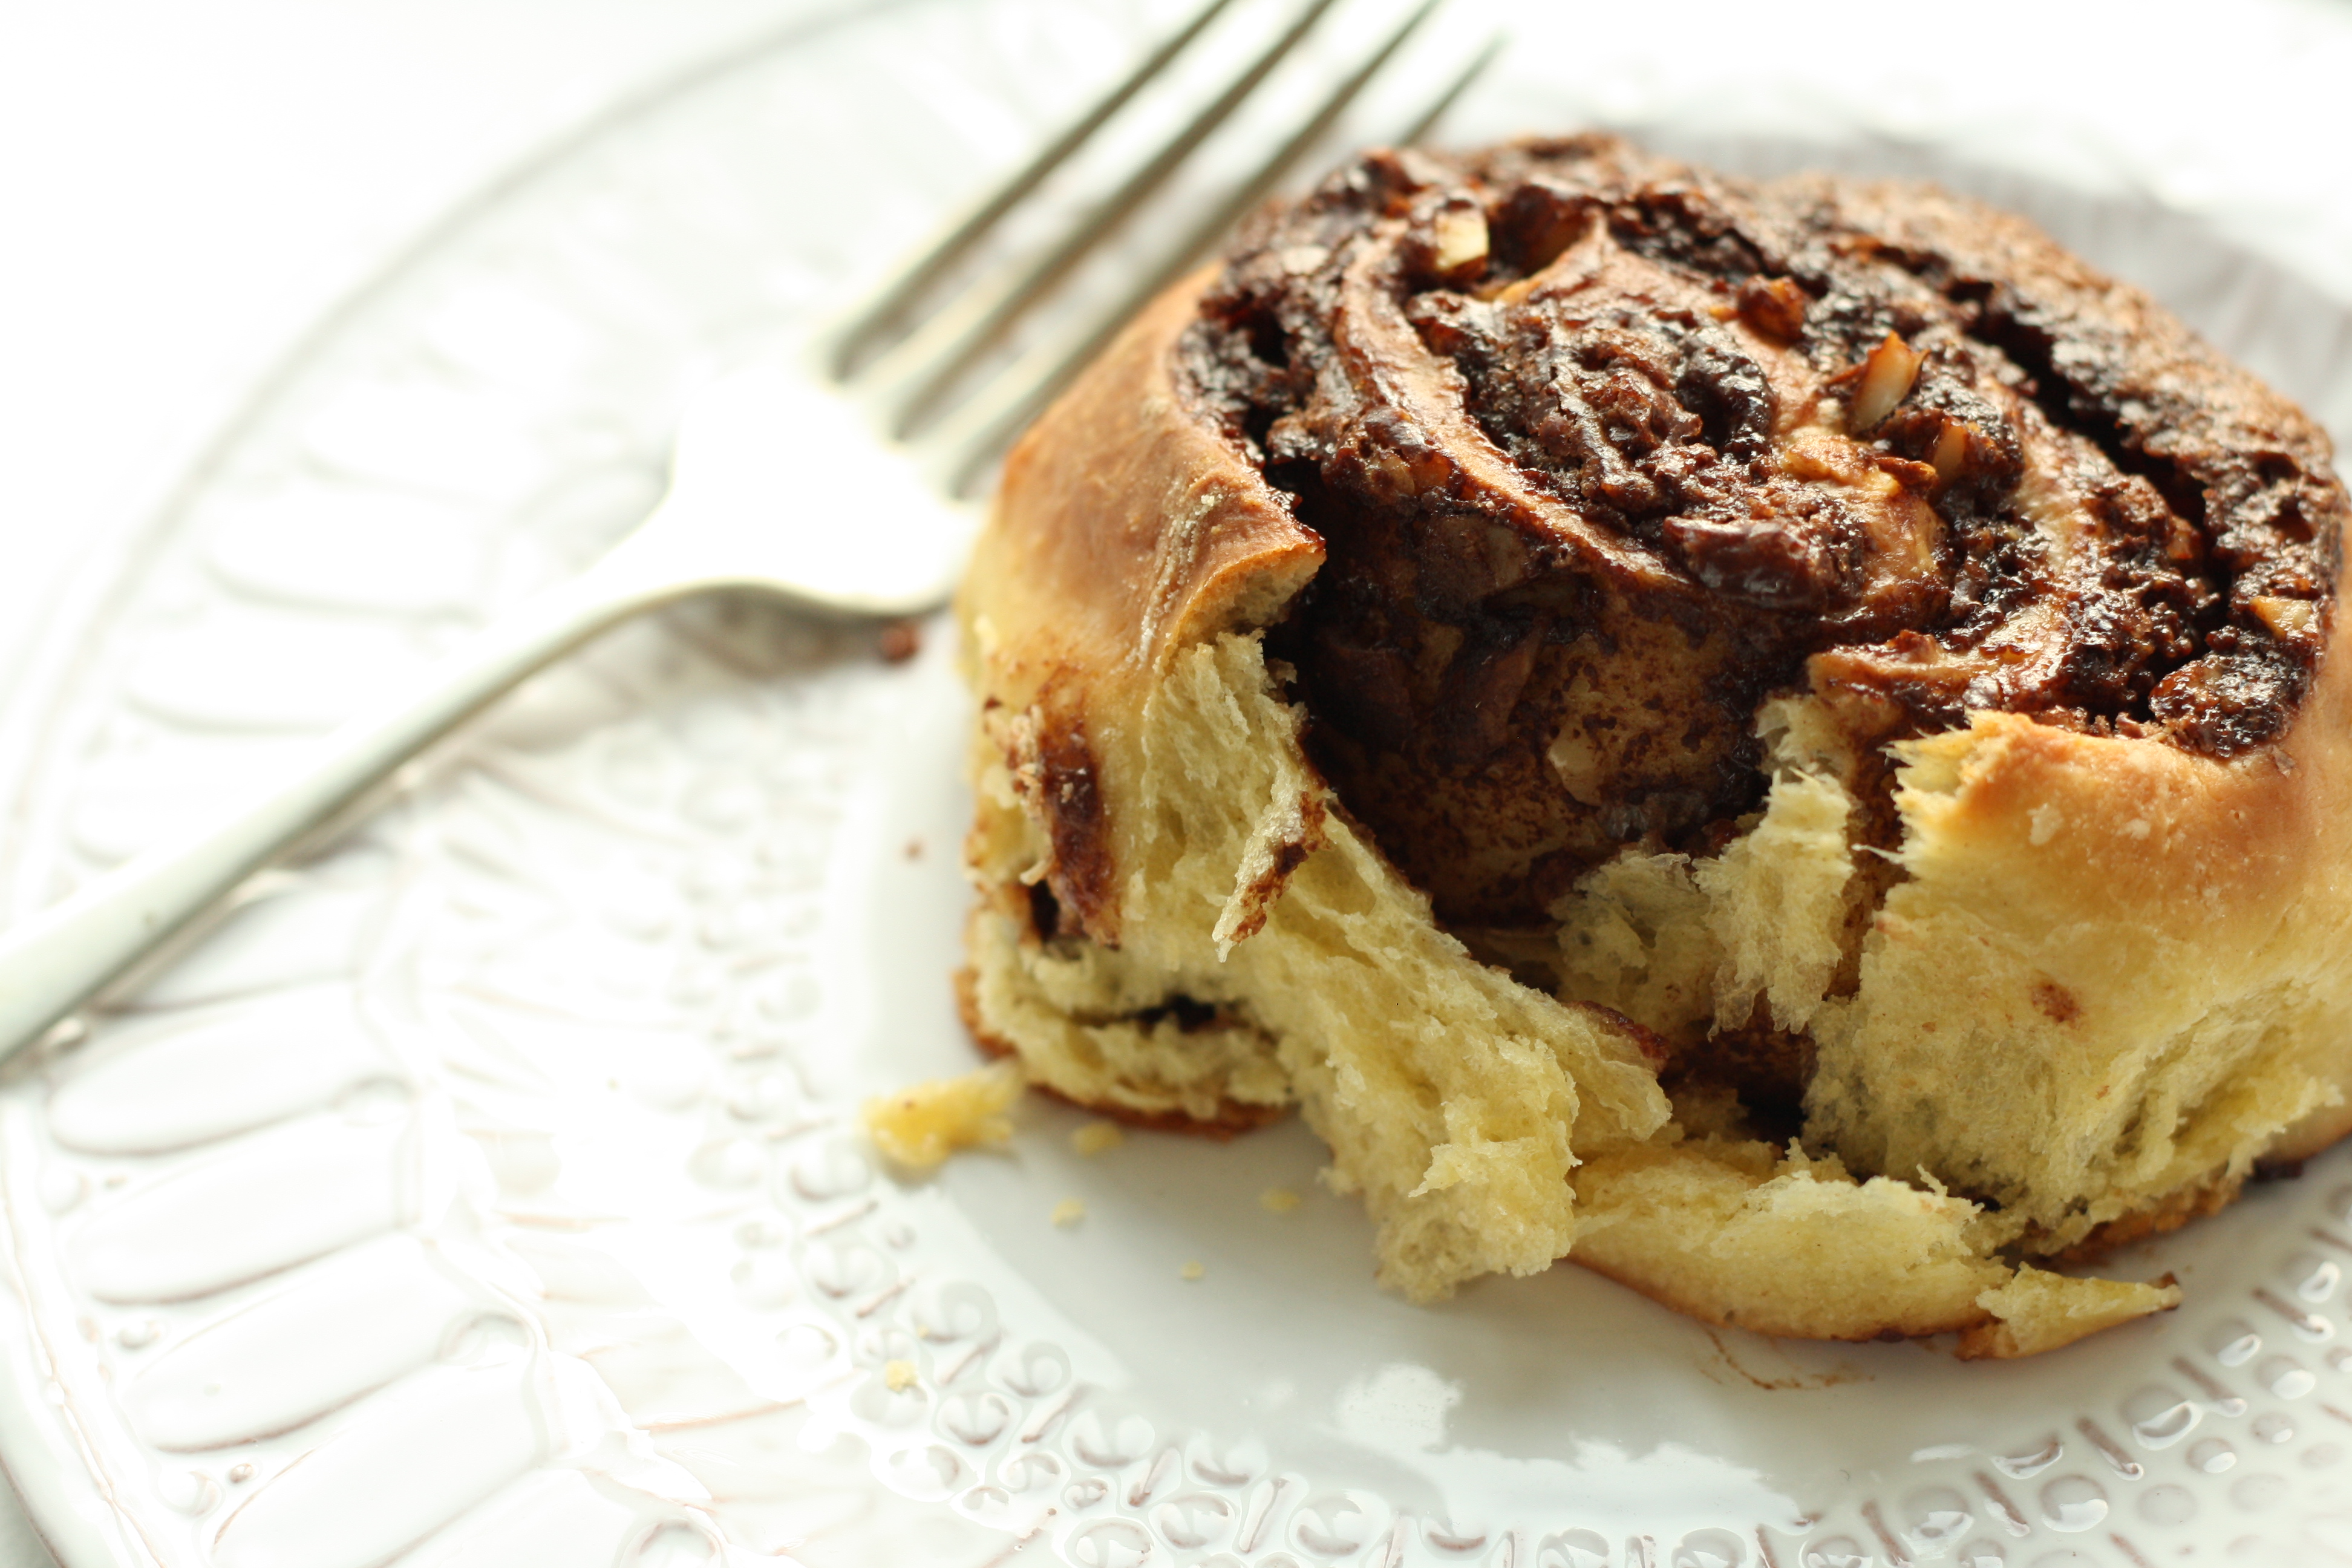
I decided to use Debs’ dough recipe but to switch out her wonderful filling of cranberry and orange for two of my favourite, classic flavours, chocolate and hazelnut. OK so they’re not as Christmasy as cranberry and orange but they are a real crowd pleaser. Debs’ combo is on my list for trying soon though!
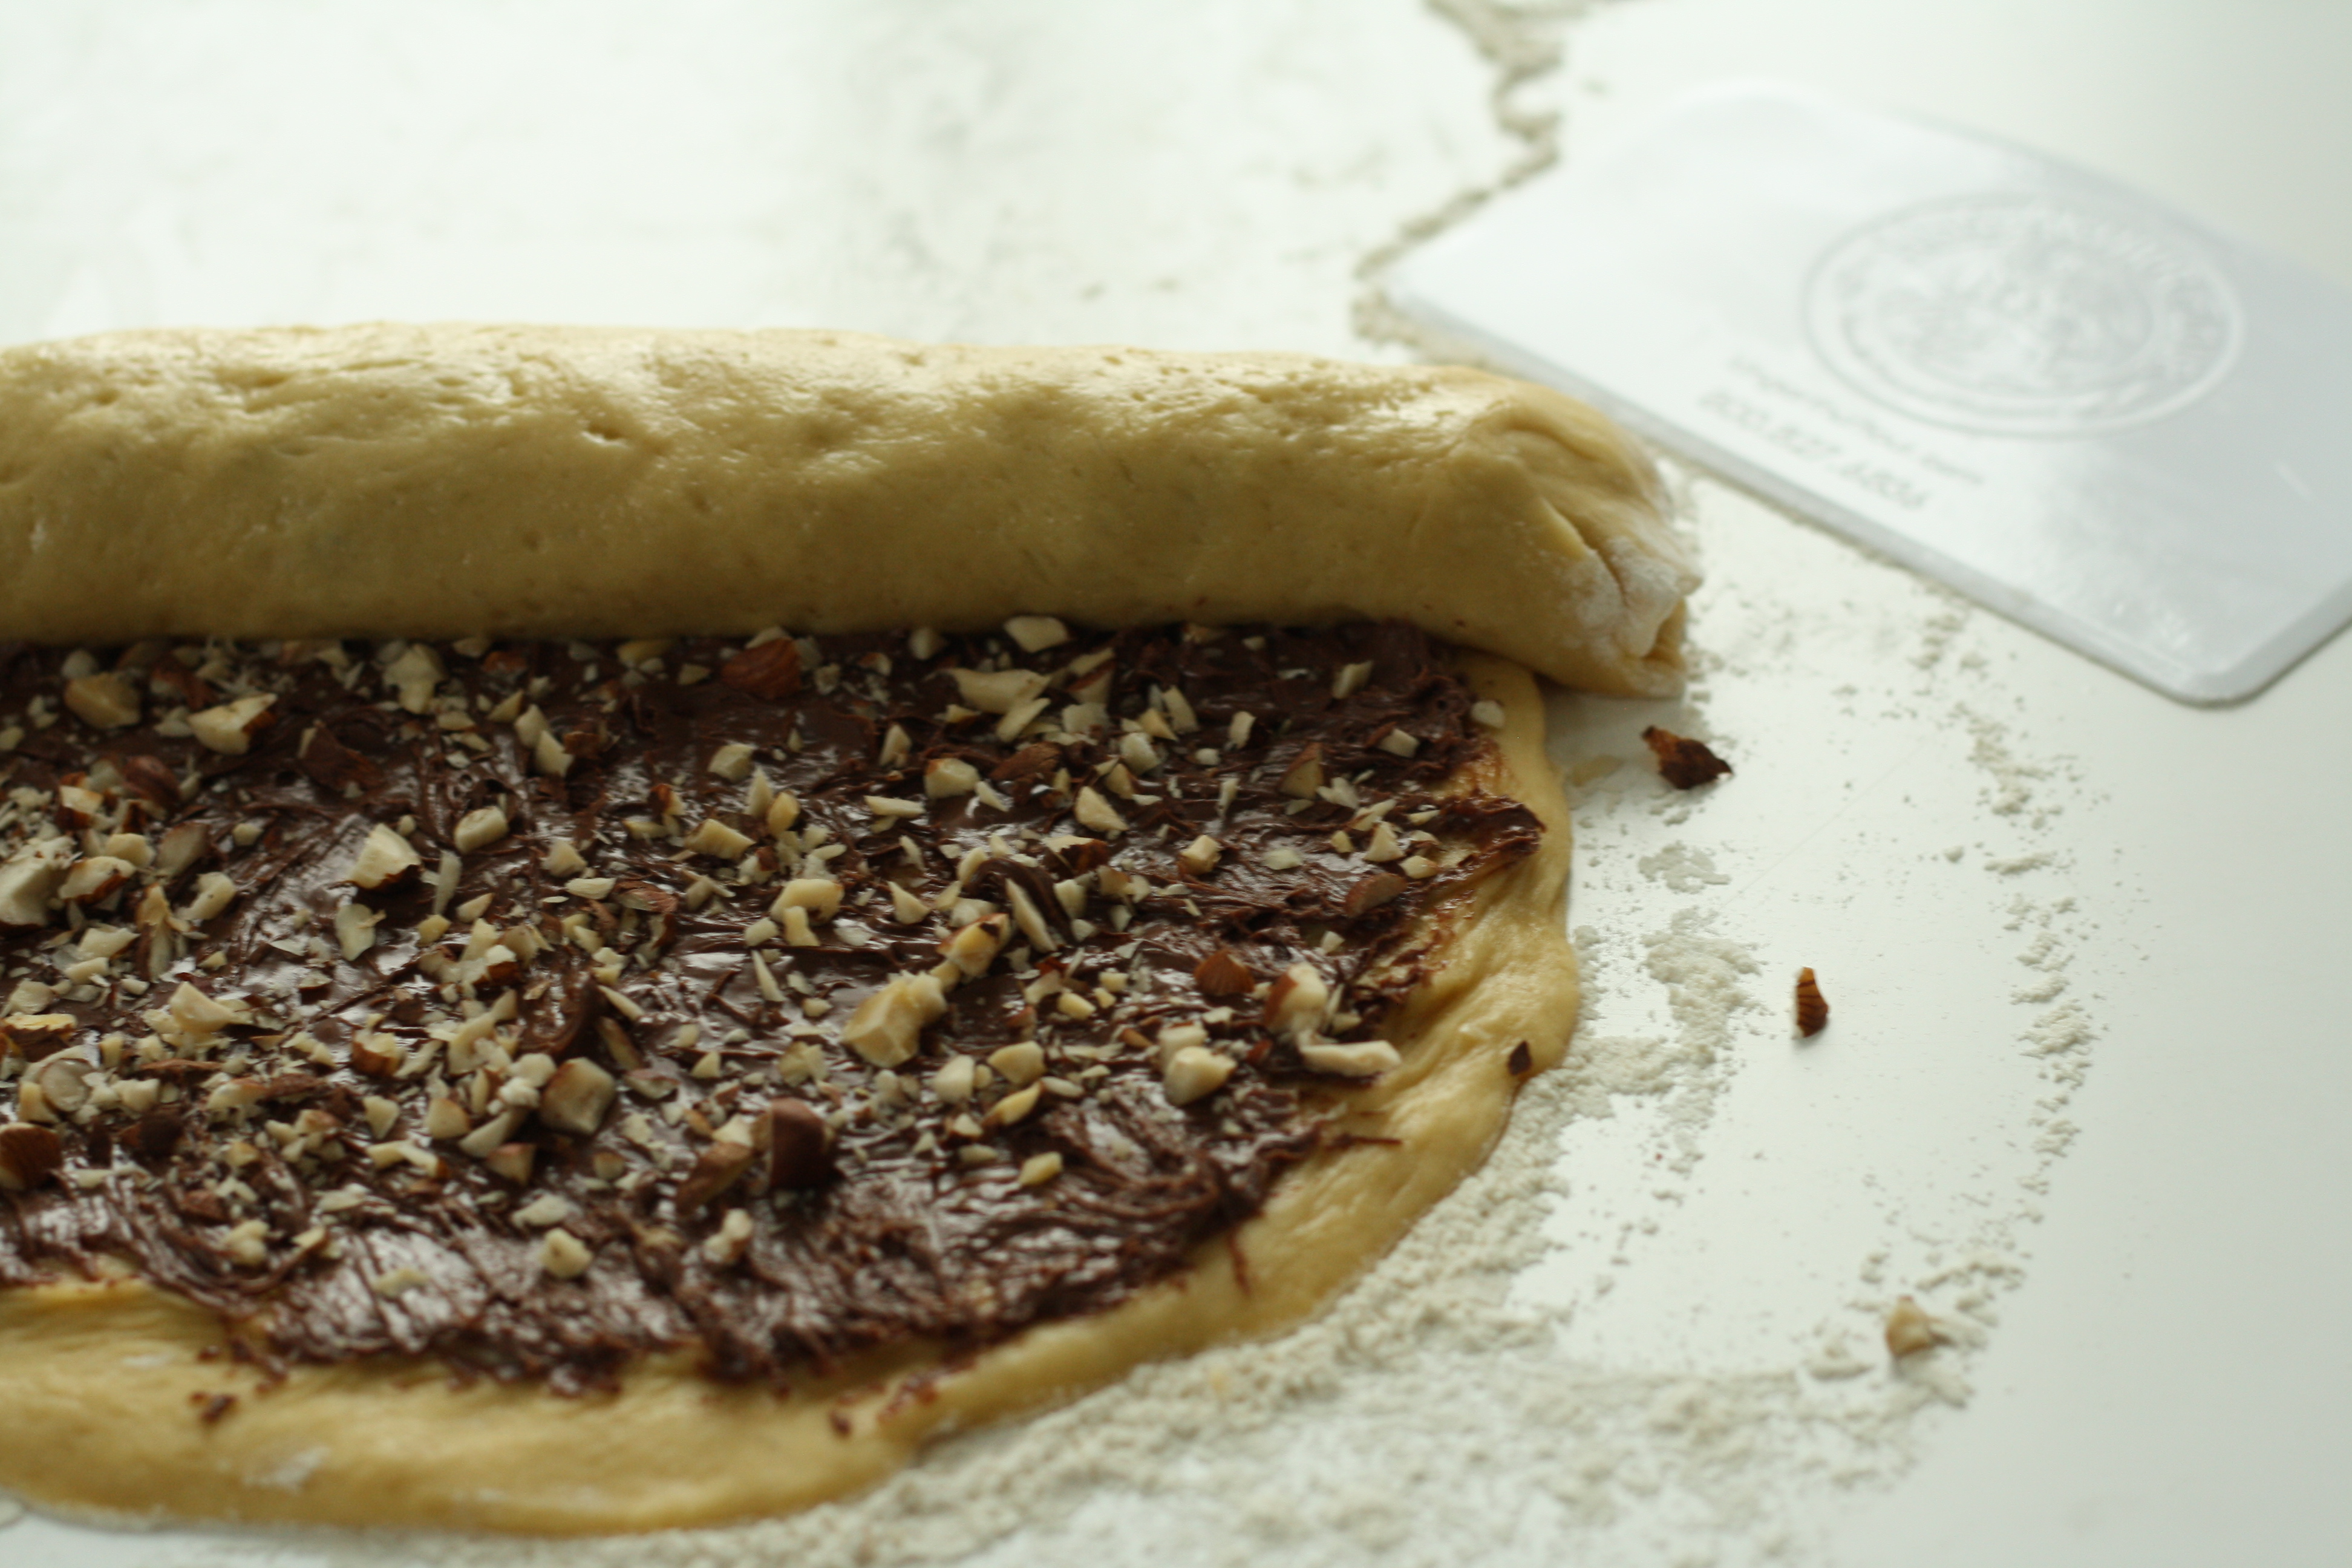
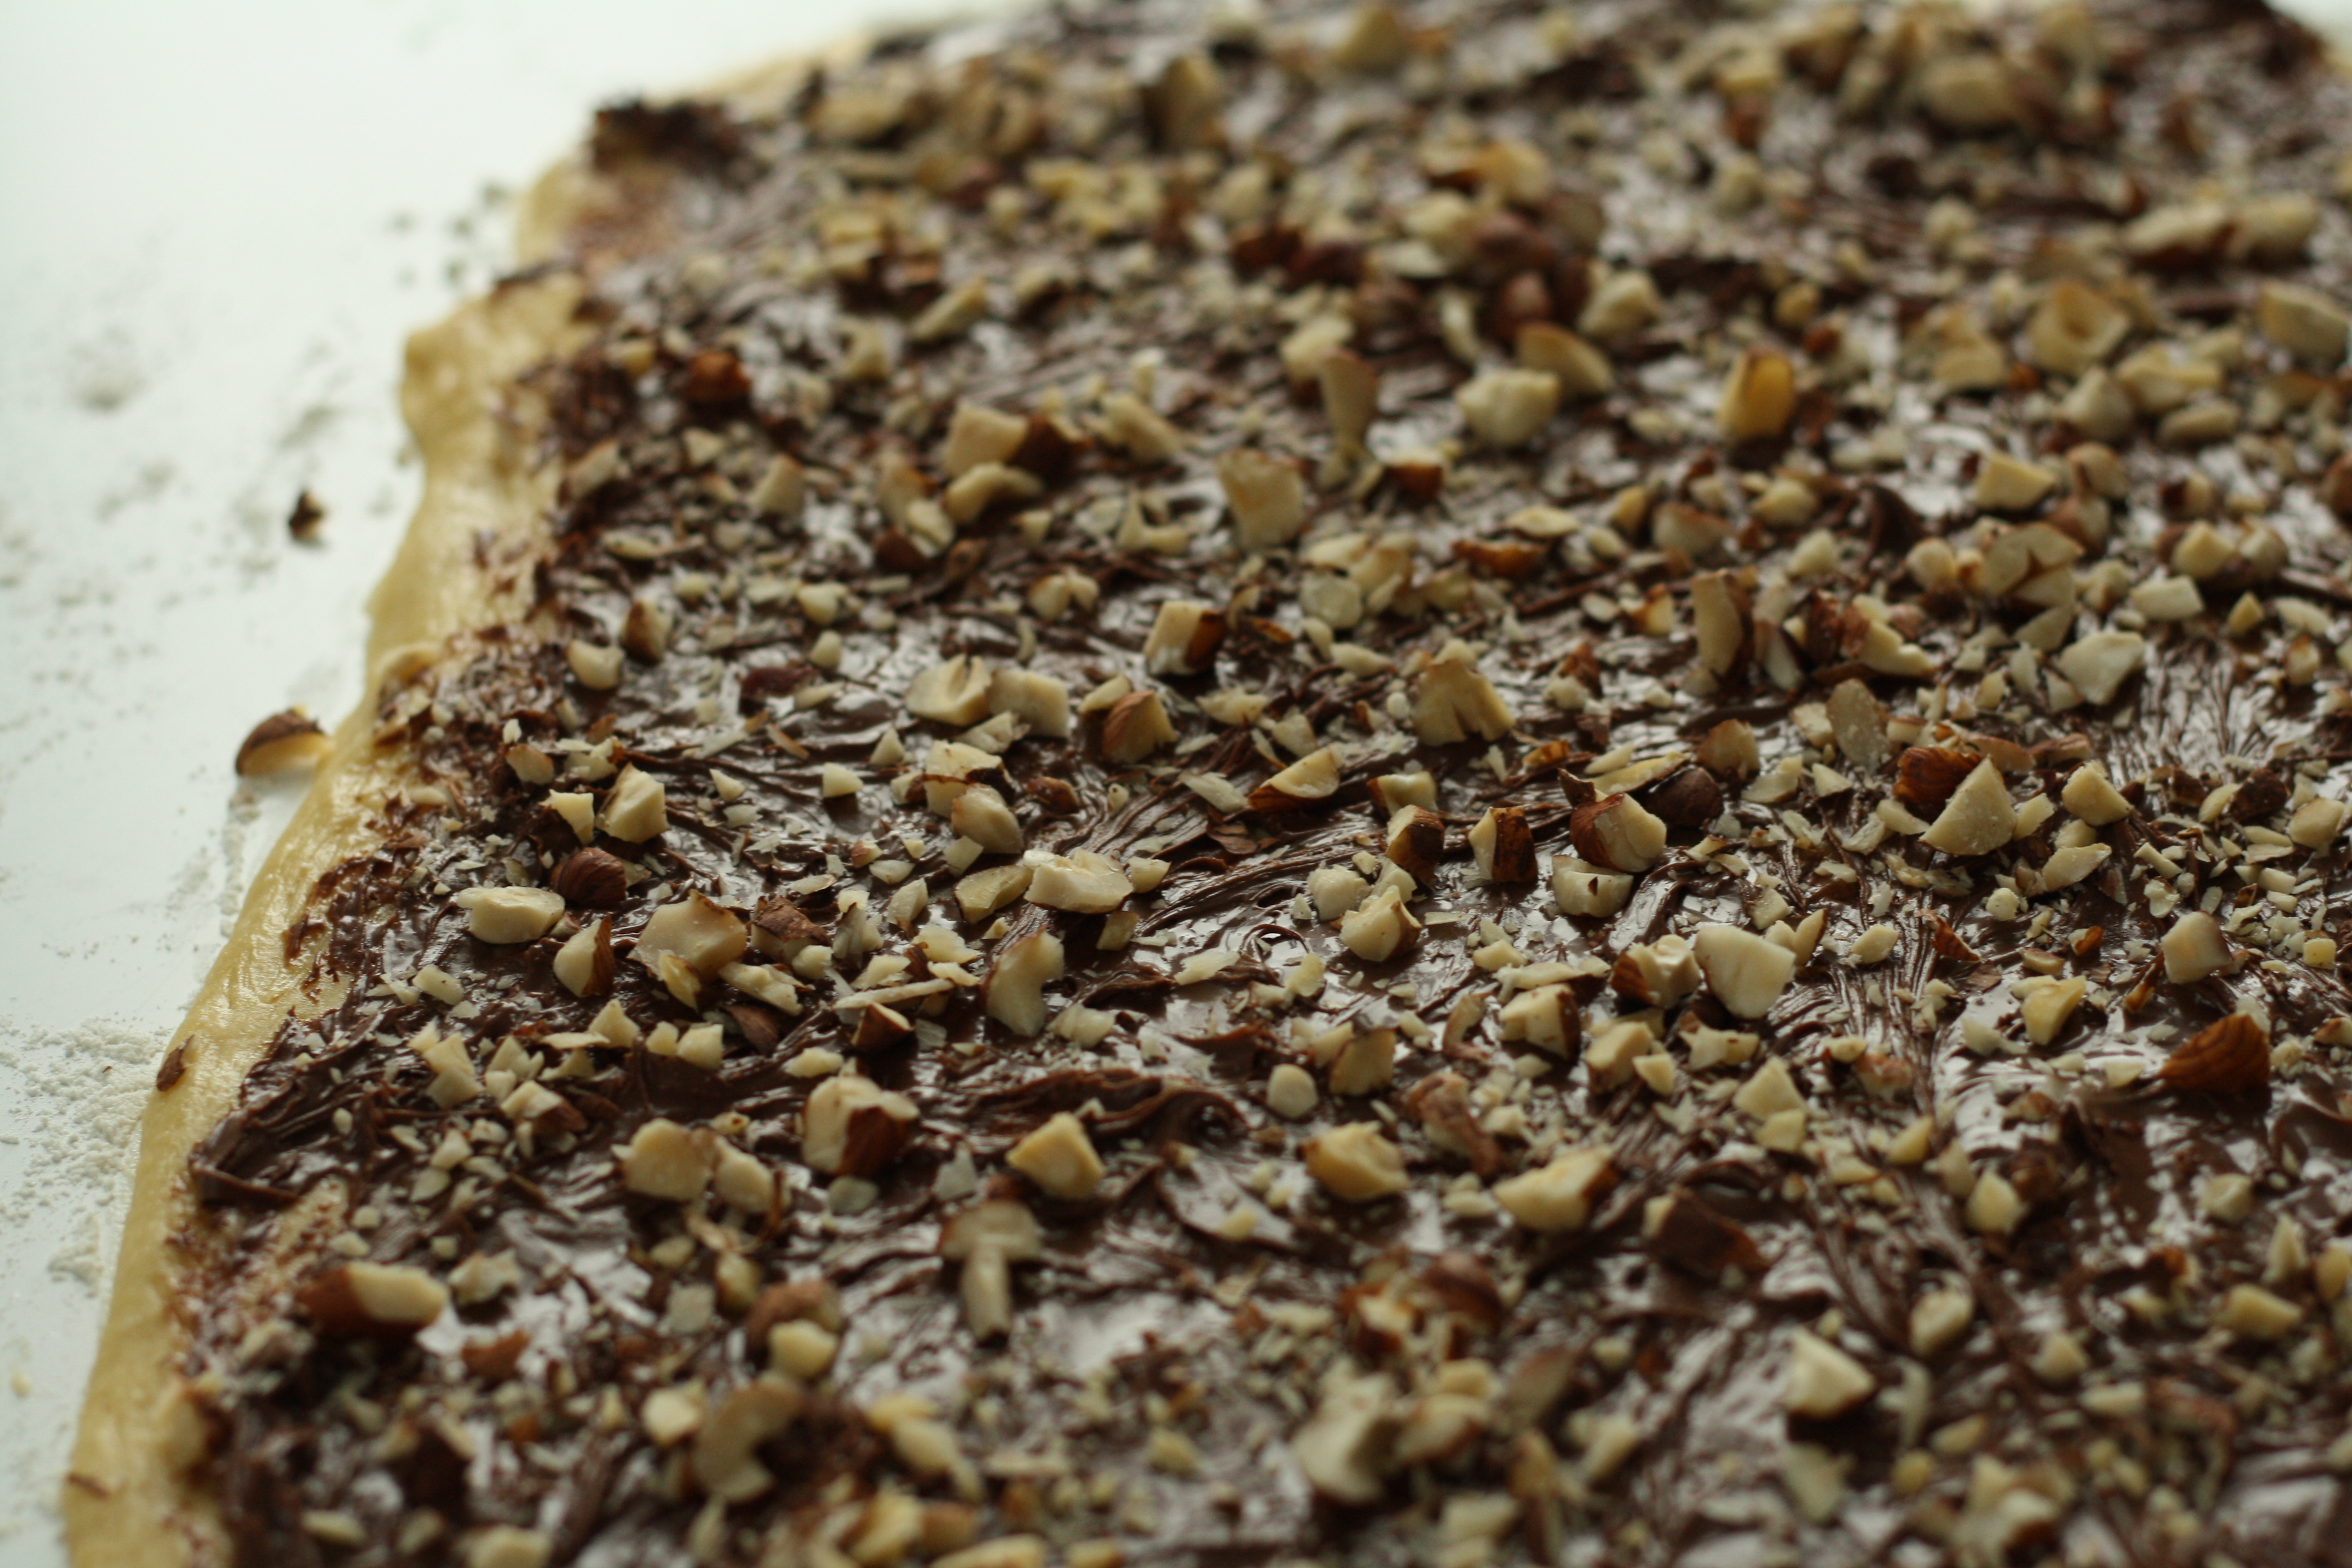
The assembly process is incredibly easy. After mixing and kneading the dough in a stand mixer (or by hand if needs be) it’s left for two hours to double in size. Then you simply roll it into a rectangle, smother it in hazelnut chocolate spread and chopped hazelnuts, roll it into a log and chop it into six pieces.

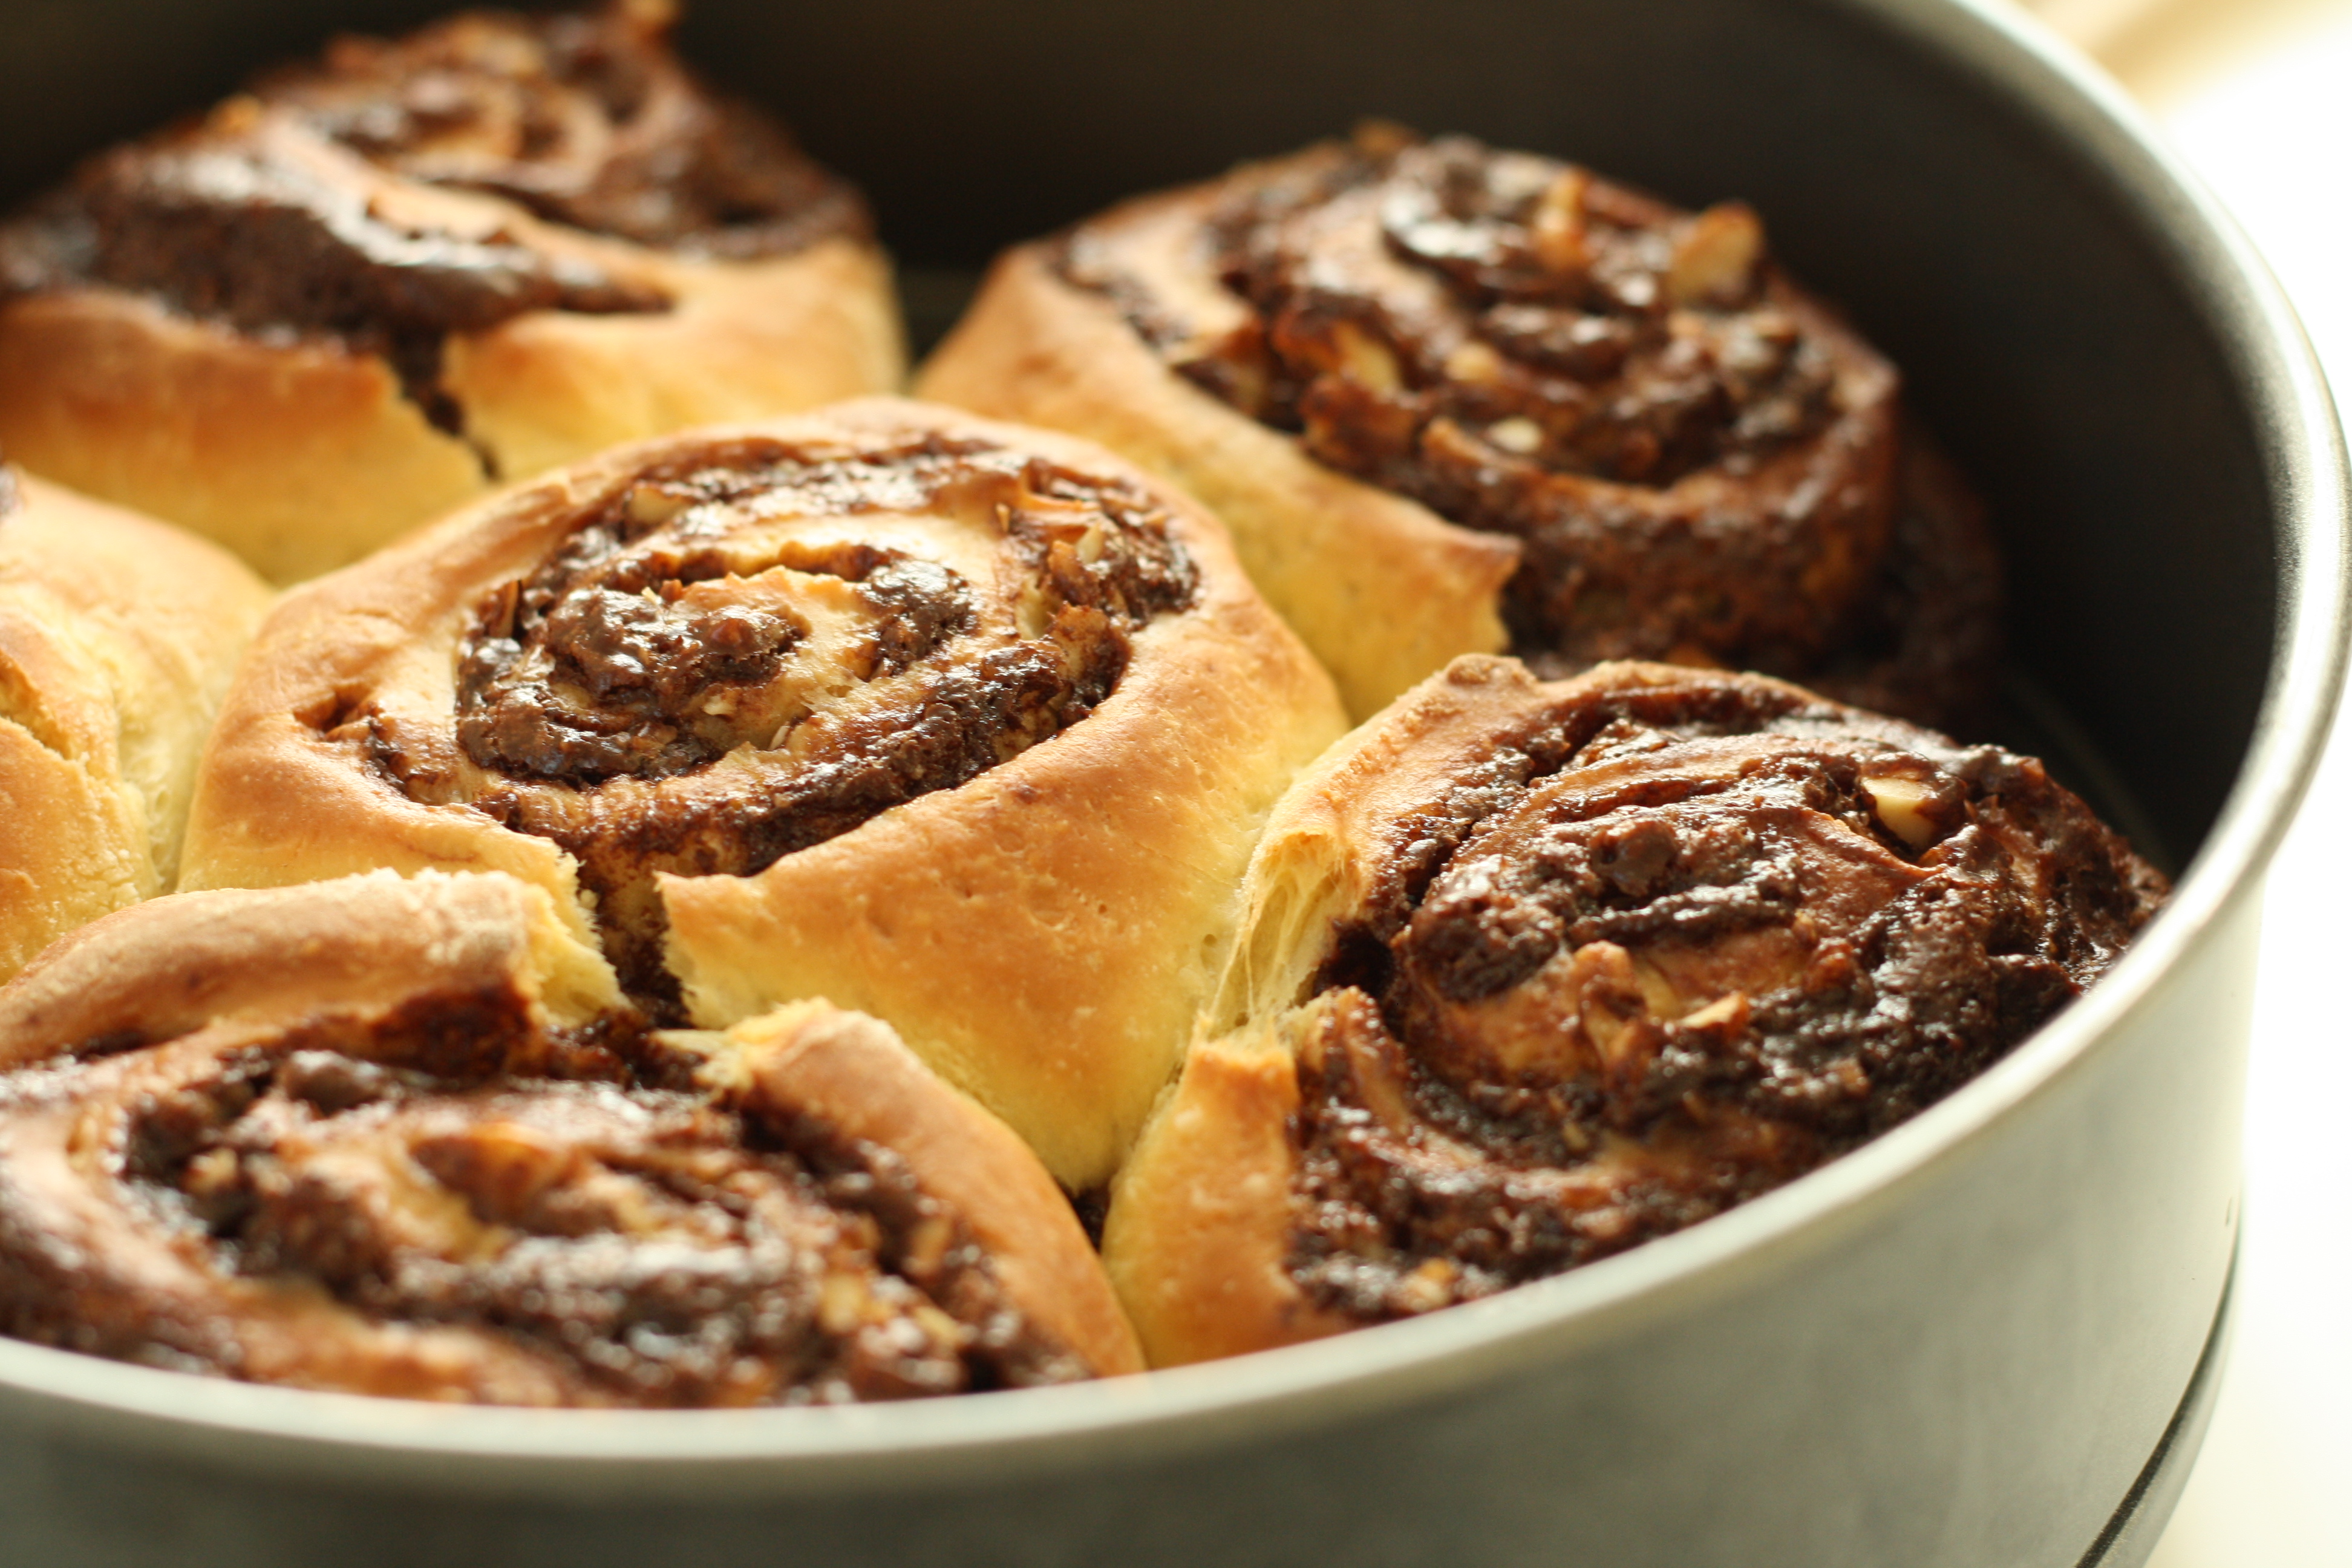
The spirals are put into a greased baking dish or tin and put into the fridge overnight to increase in size a little more. The next morning, they’re removed from the fridge and allowed to get a little warmer before being popped into the oven for a mere 30 minutes.

And that’s it, you’ve got 6 awesome buns on your hands. However, I must warn you, be careful who you make these for, they may be staying with you longer than you bargained for.
Chocolate Hazelnut Buns
Adapted from Smitten Kitchen
Makes 6 buns
Apologies for the slightly odd quantities, I halved Debs’ recipe here.
Ingredients:
Dough:
3 large egg yolks
25g (1/8 cup) granulated sugar
43g (3 tbsp) melted butter, plus a little extra for greasing the tin
88ml (just over 1/3 cup) buttermilk (I couldn’t get hold of buttermilk so I used plain yoghurt slackened with a little milk)
235g (just under 2 cups) plain flour
1 1/8 tsp instant dried yeast
1/2 tsp table salt
1 tsp olive oil for the mixing bowl
Filling:
200g hazelnut chocolate spread
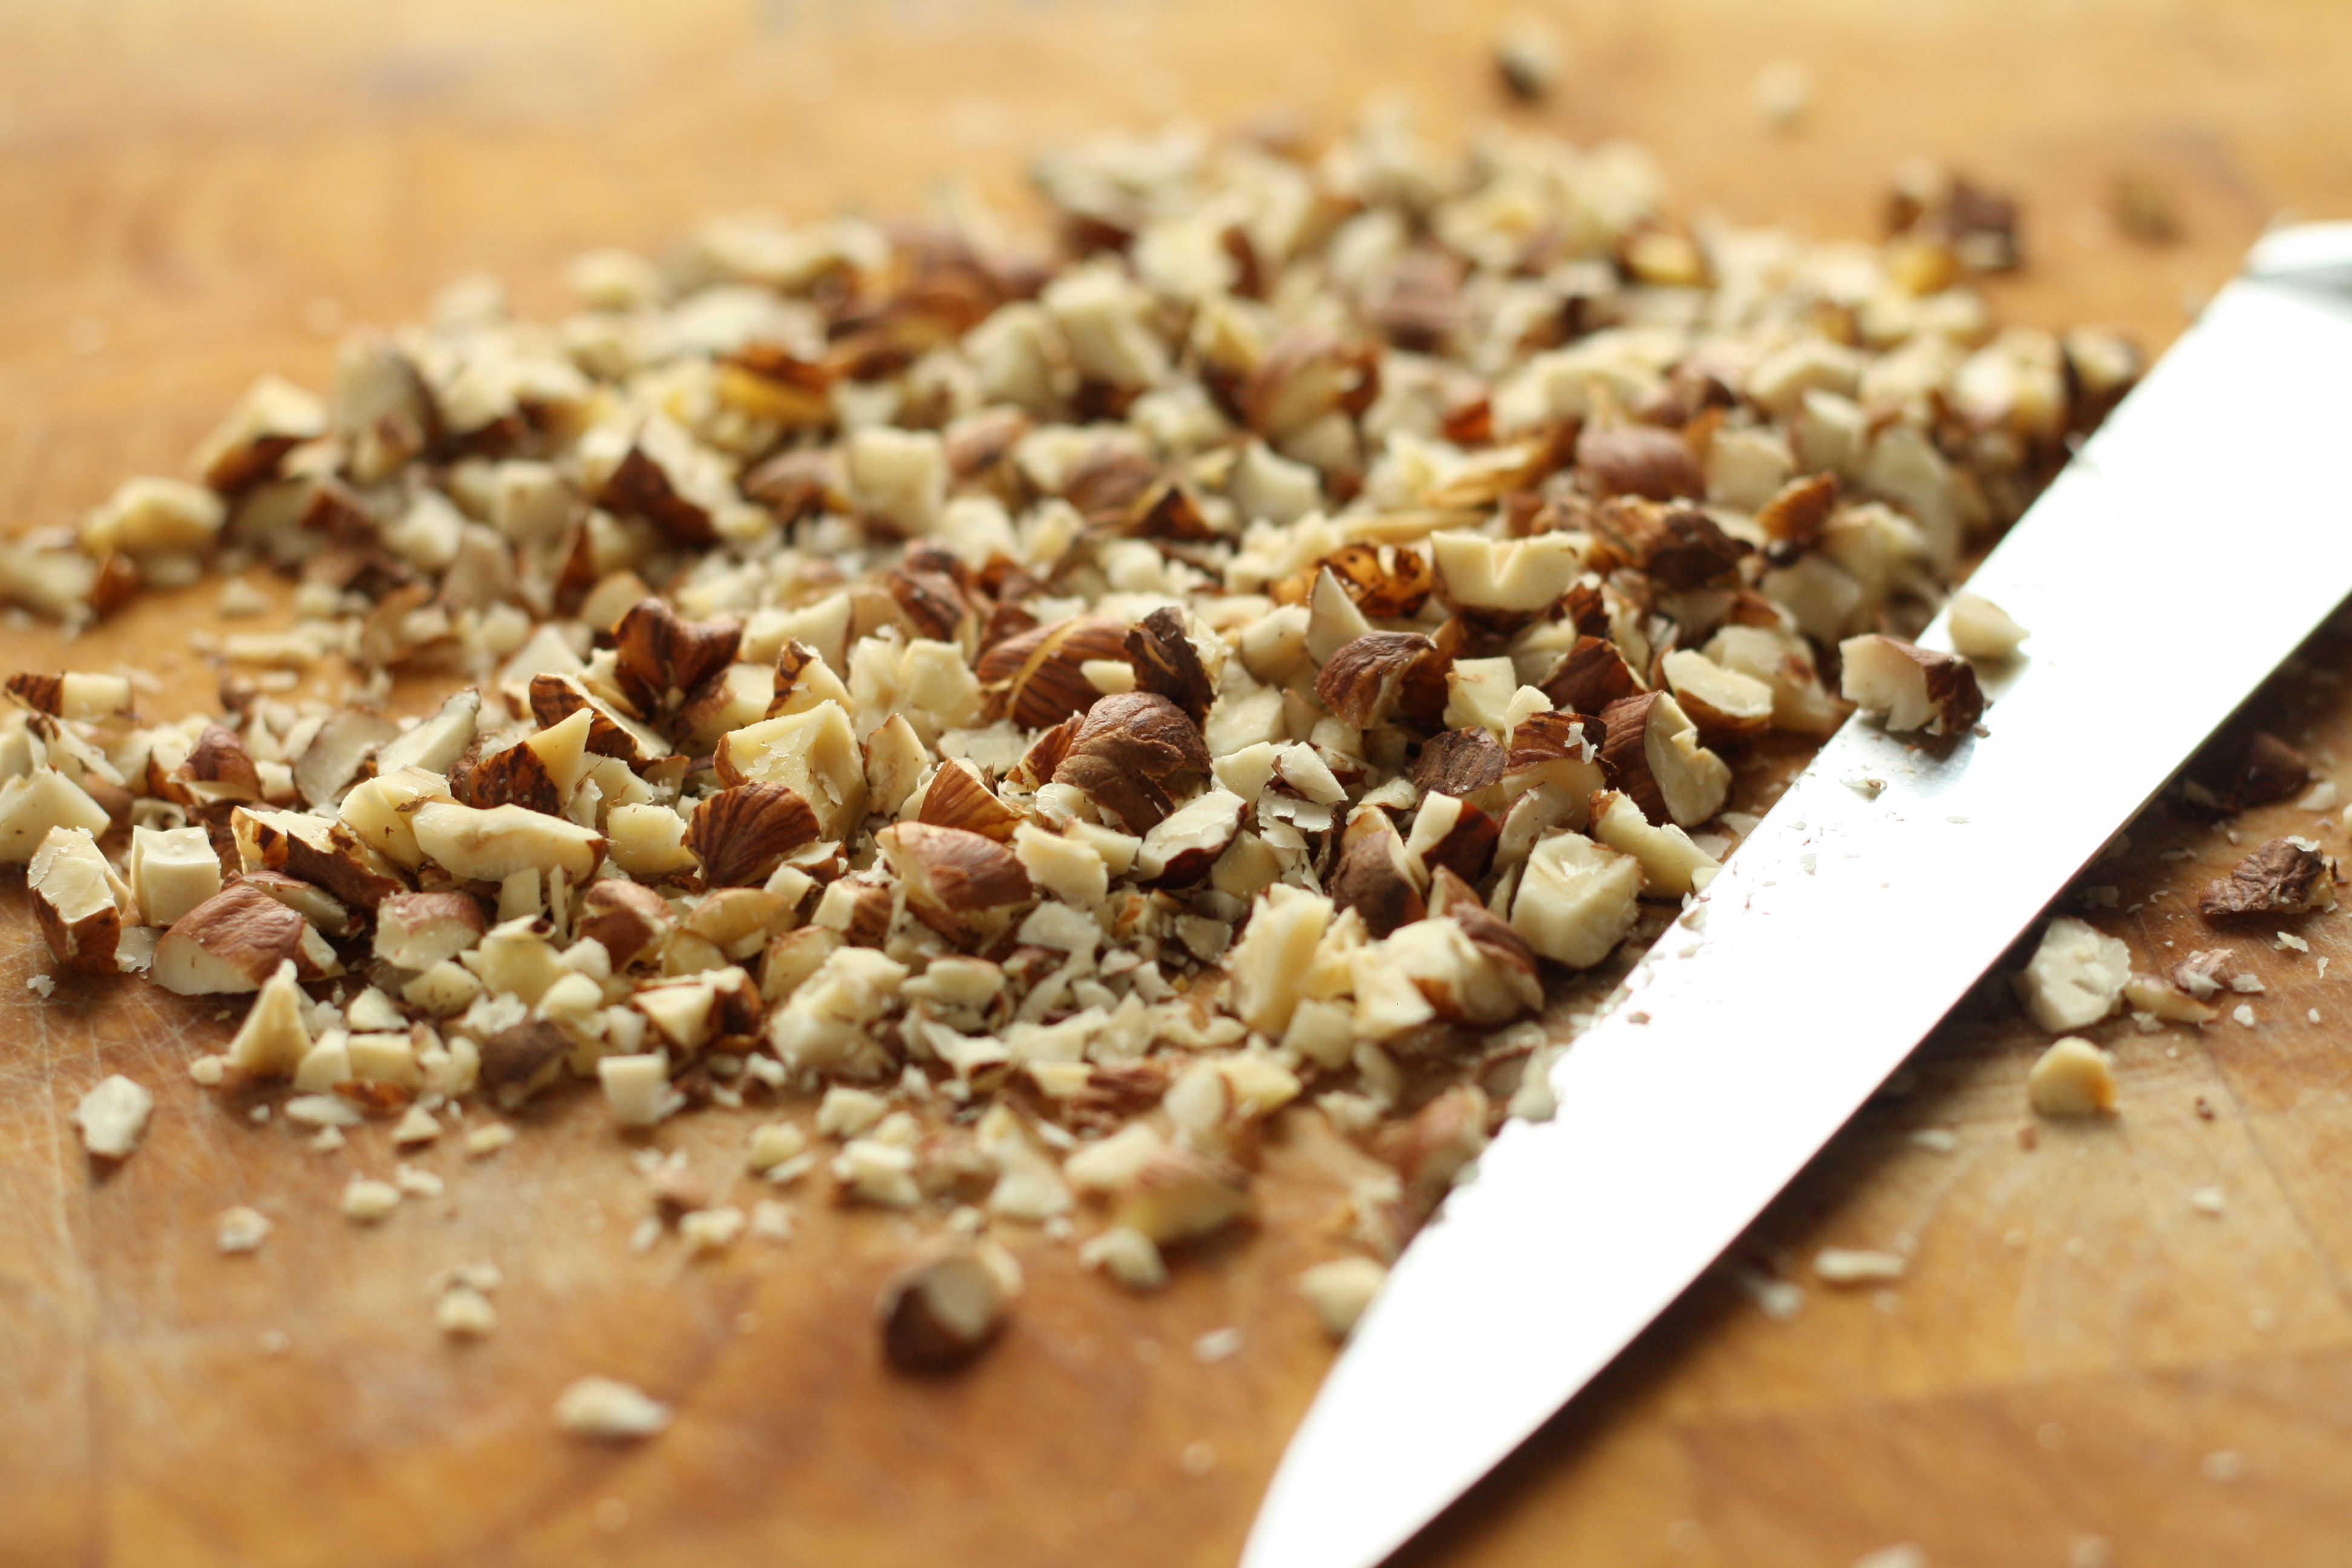
50g chopped hazelnuts
The day before you want to serve the buns start by making the dough. Fit the whisk attachment to your stand mixer and use it to whisk together the egg yolks, sugar, butter and buttermilk (or substitute). Once they’re fully incorporated add in half the flour and stir it with a spatula.
Next switch to the dough hook, add the rest of the flour and knead the mixture on a low speed for 5 – 7 minutes. This will leave you with a soft and slightly sticky dough. Take it out of the bowl and put it temporarily into a smaller bowl, while you oil the inside of the stand mixer bowl with the olive oil. Return the dough to the bowl, cover the bowl with cling film and leave it for 2 hours, until the dough has doubled in size.
(If you don’t have a stand mixer, you can mix the dough with a wooden spoon until it comes together and then knead it by hand on a floured surface for 5 minutes. Don’t add too much flour, even though it will stick a little, as that’ll make the buns too tough.)
After the 2 hours, roll out the dough on a floured surface into a rectangle roughly 9 by 12 inches, with the shortest side in front of you. Smother the rectangle, all the way to the edges, with chocolate spread and sprinkle on the hazelnuts.
Now it’s time to roll, start from the edge furthest away from you and gently roll towards you. Chop the log into 6 even pieces (about 1 1/2 inches thick) using a sharp knife. Arrange the buns, spiral side up, in a 9 inch round or 8×8 inch square baking tin. Evenly space them as they will expand.
Cover the tin with cling film and pop it in the fridge overnight or for up to 16 hours.
The next morning, take the buns out of the fridge and put them on the kitchen side for 30 minutes to warm a little. In the meantime preheat the oven to 180C / 160C Fan / 350 F. Bake the buns for 30 minutes. Let the cooked buns cool slightly before serving, so that you don’t burn your fingers! Enjoy!

Lovely,scrummy buns 🙂 want one now!
Quick! Whip up a batch for tomorrow morning! 🙂
These look diviiiine! I love the addition of the hazelnuts to the filling for some crunch. Yumm
Thank you 🙂 The hazelnuts really take them to another level!