Blood Orange & Campari Cake (Gluten Free)

Blood Orange & Campari Cake 7

The Christmas before last my friend Jodie bought me the Polpo cookbook. After about 2 minutes of looking at all of the amazing Venetian recipes I was utterly obsessed with the blood orange and campari cake. Massive negroni fan that I am, I couldn’t imagine a better combo for the perfect cake and knew I had to make it as soon as possible!

Blood Orange & Campari Cake 3

However, procrastination is my greatest skill, so a few months passed with no sign of the cake and then all of a sudden, blood orange season was over. So when blood oranges season kicked off again this year I knew I had to grab the bull by the horns, juice 8 oranges and get this cake on my coffee table.

Blood Orange & Campari Cake 2


Now it has happened, and in celebration I have made my first ever gif! (Yes, I’m massively behind the times, but cut this technophobe some slack!)  (continue reading…)

Gluten-Free Blueberry Polenta Cake with Lavender Syrup

Gluten Free Blueberry Lavender Polenta Cake 1

I’ve been thinking about this cake all week. Sitting at my desk, occasionally glazing over in front of my spreadsheets and dreaming of sticky, syrupy blueberry cake with a hint of lavender.

Gluten Free Blueberry Lavender Polenta Cake 2

It’s always worrying when you dwell on a recipe so much, without actually having made it, by Friday night the fear of disappointment was upon me. I already felt defeated as I started to whip up the batter and boil the syrup. The overnight wait to test the cake was almost unbearable!

Gluten Free Blueberry Lavender Polenta Cake 3

On saturday morning, after the last photograph had been taken, it was finally time for my first taste. Not to sound immodest, although I often do, but this cake blew me away, pure and simple. (continue reading…)

Apricot & Date Tea Loaf

Tea Loaf

Let’s talk tea loaf. For the uninitiated, a tea loaf is a fabulously moist tea cake that gets its moisture, not from fat, but from beautifully, fragrant tea. In this case orange scented, Earl Grey tea.

Apricots

For me, tea loaf is reminiscent of one of my favourite childhood treats, malt loaf, (only without the malt, obvs!). Every Sunday evening of my childhood, almost without fail, dessert consisted of a marvellous, chunky slice of malt loaf with a delicate spreading of margarine.

Tea Loaf 2

Yeah, yeah, I know, margarine ewww. But in my defence we were a fairly low fat household and I didn’t know any better! Besides the marg was there more as an extra layer of moisture than for flavour. I’m not ashamed people!

Tea Loaf 3

This cake, however, is so amazingly moist and sticky that you absolutely don’t need any extra butter (or marg!) on it. Although I just couldn’t resist! The moisture comes from the fact that the dried fruit is soaked, overnight, in warm tea. By the morning the fruit has doubled in size and is wonderfully sweet and juicy.

Tea Loaf 4

The softened fruit also makes this the ideal cake for all those fruit cake haters out there. I promise that they will barely even notice that there’s any dried fruit in there!

Its other advantage is how incredibly simple it is to make. Hardly any ingredients and made in one bowl, what more could you ask for?

Tea Loaf 5

Apricot & Date Tea Loaf

Ingredients:

150g dried apricots
130g dates
300ml strong hot earl grey tea
340g self raising flour
110g granulated sugar
1 heaped teaspoon ground allspice (or a mixture of nutmeg and cinnamon is also lovely)
1 beaten egg

Make the tea using 2 teabags and leave it to cool slightly. Chop each of the apricots and dates into around 3 pieces and put them all in a large mixing bowl.  Once the tea is lukewarm, pour it over the fruit, cover the bowl with a clean tea towel and leave it overnight.

In the morning, preheat the oven to 180 C / 160 C fan oven / 350 F and grease and line a 2lb loaf tin.

Add all the rest of the ingredients to the mixing bowl, stir well to combine and pop it into the baking tin, smoothing the top.

Bake for 1 hour or until a skewer can be inserted into the middle of the cake and is clean when removed.

Serve with or without butter, but definitely with a lovely cup of tea!

Tea Loaf 6

Peach & Raspberry Ricotta Crumble Cake

Ricotta cake 1

Following a marvellously sunny and relaxing trip to Sicily, I have become utterly obsessed with ricotta cheese.

I breakfasted on bread with ricotta and honey at every given opportunity, added it to my pasta and chose it as a pizza topping, so I was thoroughly surprised when I returned to London roughly the same size as when I left!

Ricotta

There’s just something about it that’s got me hooked and I’m not exactly clear what it is, so for now I’m indulging my obsession and bringing it home to good old blighty.

Peaches

The owner of one of the B&Bs I stayed in on my holibobs produced the most amazing cakes each and every morning, and those that weren’t eaten were popped in a doggy bag for lunch. Therefore, when I got home I decided that the best way to indulge my ricotta addiction would be in the form of a fabulously fruity cake.

Ricotta cake 2

I chose peaches as, for some reason, my flat is not conducive to effective peach ripening. It seems that every time I buy a punnet of peaches, they start out ridiculously hard and then after a few days in my flat they’ve taken on that odd dry texture (that I’m really struggling to describe!)

Ricotta cake 3It seemed like the best way around this problem would be to cook the peaches. Much like strawberries, peaches can be improved by a bit of heat and sugar, especially if they’re not properly ripe and juicy. The same applies to nectarines, apricots and plums.

Ricotta cake 4

A quick internet scout led me to the Australian Gourmet Traveller website and this lovely recipe for Peach and Raspberry Ricotta Crumble Cake.

All I can say is yum! This cake is everything I hoped it would be. Sweet peaches, slightly sour raspberries, crumbly topping, a hint of lime zest and, best of all, delightfully tangy chunks of ricotta! It’s a wonderfully moist cake, I ate my first slice slightly warm (as my patience had left me) but it’s equally scrummy cold.

Ricotta cake 5

It’s also the first cake I’ve made in my food processor. Slightly more complicated than the cakes I’ve made in the past but definitely worth the effort.

Ricotta cake 6

The original recipe calls for the cake to be served with a lime and vanilla syrup, which I’m sure would be lovely, but I didn’t think it needed the added sweetness. I also omitted the dusting of icing sugar, not on purpose, admittedly!

Ricotta cake 7

Peach & Raspberry Ricotta Crumble Cake
From Australian Gourmet Traveller

Ingredients:

220g sour cream
1tsp bicarbonate of soda
300g plain flour
220g caster sugar
160g softened unsalted butter
30g ground almonds
Grated rind of 2 limes
1tsp vanilla bean paste
1tsp baking powder
1/2tsp salt
2 eggs
3 peaches, halved and thinly sliced
125g raspberries
200g ricotta

Start by preheating your oven to 180 C / 160 C fan oven / 350 F and butter and line a 20cm square baking tin with baking paper. (I used a 23cm baking tin as that’s all I could find in John Lewis!)

In a measuring jug stir together sour cream and bicarbonate of soda and set aside for a couple of minutes to foam. It’s best to use a largish measuring jug as the mixture will pretty much double in size.

In your food processor, pulse together flour, sugar, butter, ground almonds, lime rind, vanilla paste, baking powder and salt until crumbly. (If you don’t have a food processor I’m sure that you could rub these ingredients together with your finger tips instead, it’ll just take a little longer.) Take out one cup of the mixture and put it to one side.

Returning to the crumble mix in the food processor, add the eggs and the sour cream mixture and pulse again until it’s smooth.

Spread half of the mix into the bottom of the baking tin, smooth it out and then sprinkle in half of the peaches, raspberries and ricotta (in little chunks) and a third of the reserved crumble mix.

Add the rest of the cake batter, smoothing it over again. Top with the rest of the peaches, raspberries and ricotta and then cover the whole lot with the rest of the crumble.

Pop the tin in the oven for 1 to 1 1/4 hours, until a skewer comes out of the middle clean. If it starts to get too brown, cover it with foil.

Cool the cake in the tin for 15 minutes and then take it out and put it on a rack to cool completely.

Serve with a nice cup of tea!

Ricotta cake 8

Berry Upside-Down Cake

Berry Upside-down cake 1

Spring is a time for new beginnings, the perfect time to start my blog. I’ve been mulling it over all winter and the light finally seems good enough to take some pictures and get things started.

Berry Upside-down cake 2

So, I’m not exactly a strawberry fan, I know, I know, they’d kick me out of Wimbledon if I ever managed to get a ticket in the first place! It’s just that they can be so dull, watery and tasteless, and raspberries seem so consistently good and usually get my vote.

However, even the most pitiful strawberry can be immeasurably perked up by some time in the oven. Roast them or pop them in a cake or muffin and the sweet flavour will be intensified, making it utterly worth the effort.

Strawberries

Pineapple will always be the number one upside-down cake, (and will always remind me of the one my mum makes, complete with glace cherries and miraculously cooked in the microwave!) but I thought I’d go for something different and try out Joy the Baker’s strawberry upside-down cake with cardamom.

Joy the Baker, is the first blog I ever got into, and a big inspiration for me to start baking, writing and taking photographs, so it seemed fitting that the first thing I post should be one of her recipes.

Blueberries 1

I had to slightly adapt Joy’s recipe for one reason only, I am useless and forgot to buy 2 of the key ingredients. Joy’s recipe uses sour cream, which would add a nice tang to complement the sweet strawberries, I had to sub in yoghurt, but this still makes the crumb nice and moist.

Joy also adds ground cardamom to the batter, which, I’d imagine, would take this cake to a whole new level. If you have any, pop 1/4 teaspoon into the batter and let me know how it turns out!

Blueberries 2

I added blueberries to my cake batter, I mean, who doesn’t like a blueberry in their cake? I won’t get on with that person, please keep them away from me. (Kidding…possibly)

Crumb close up

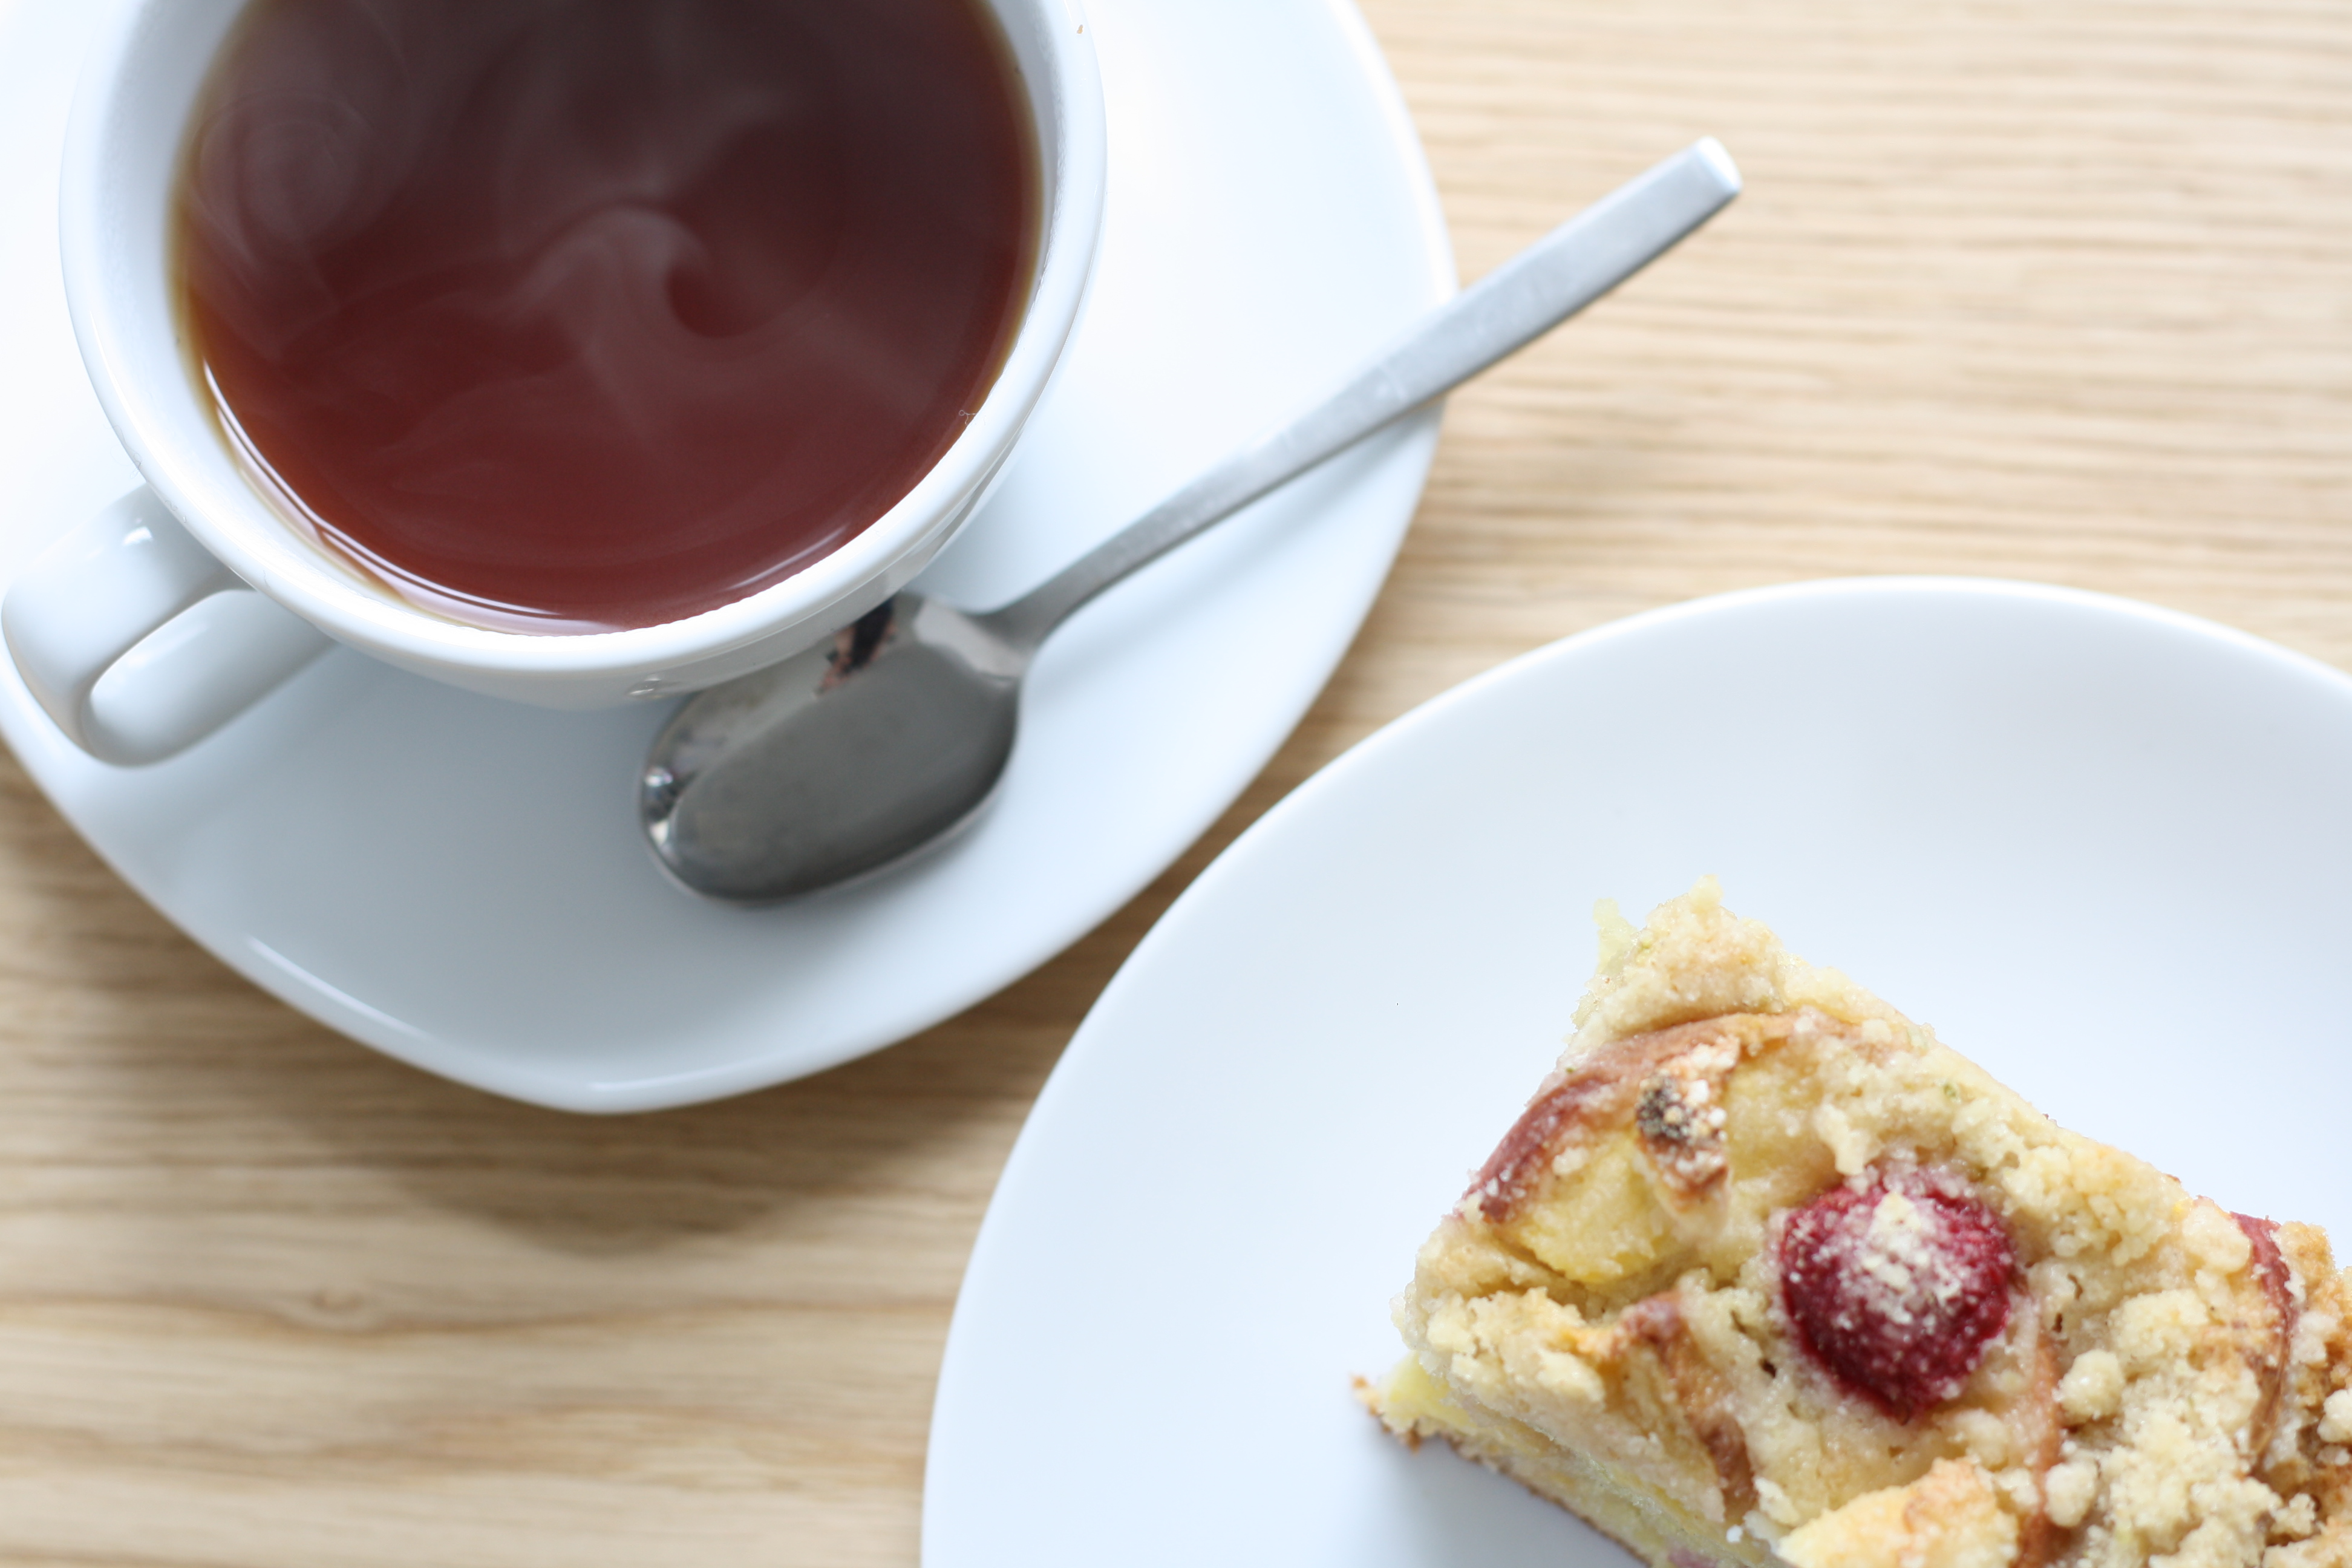
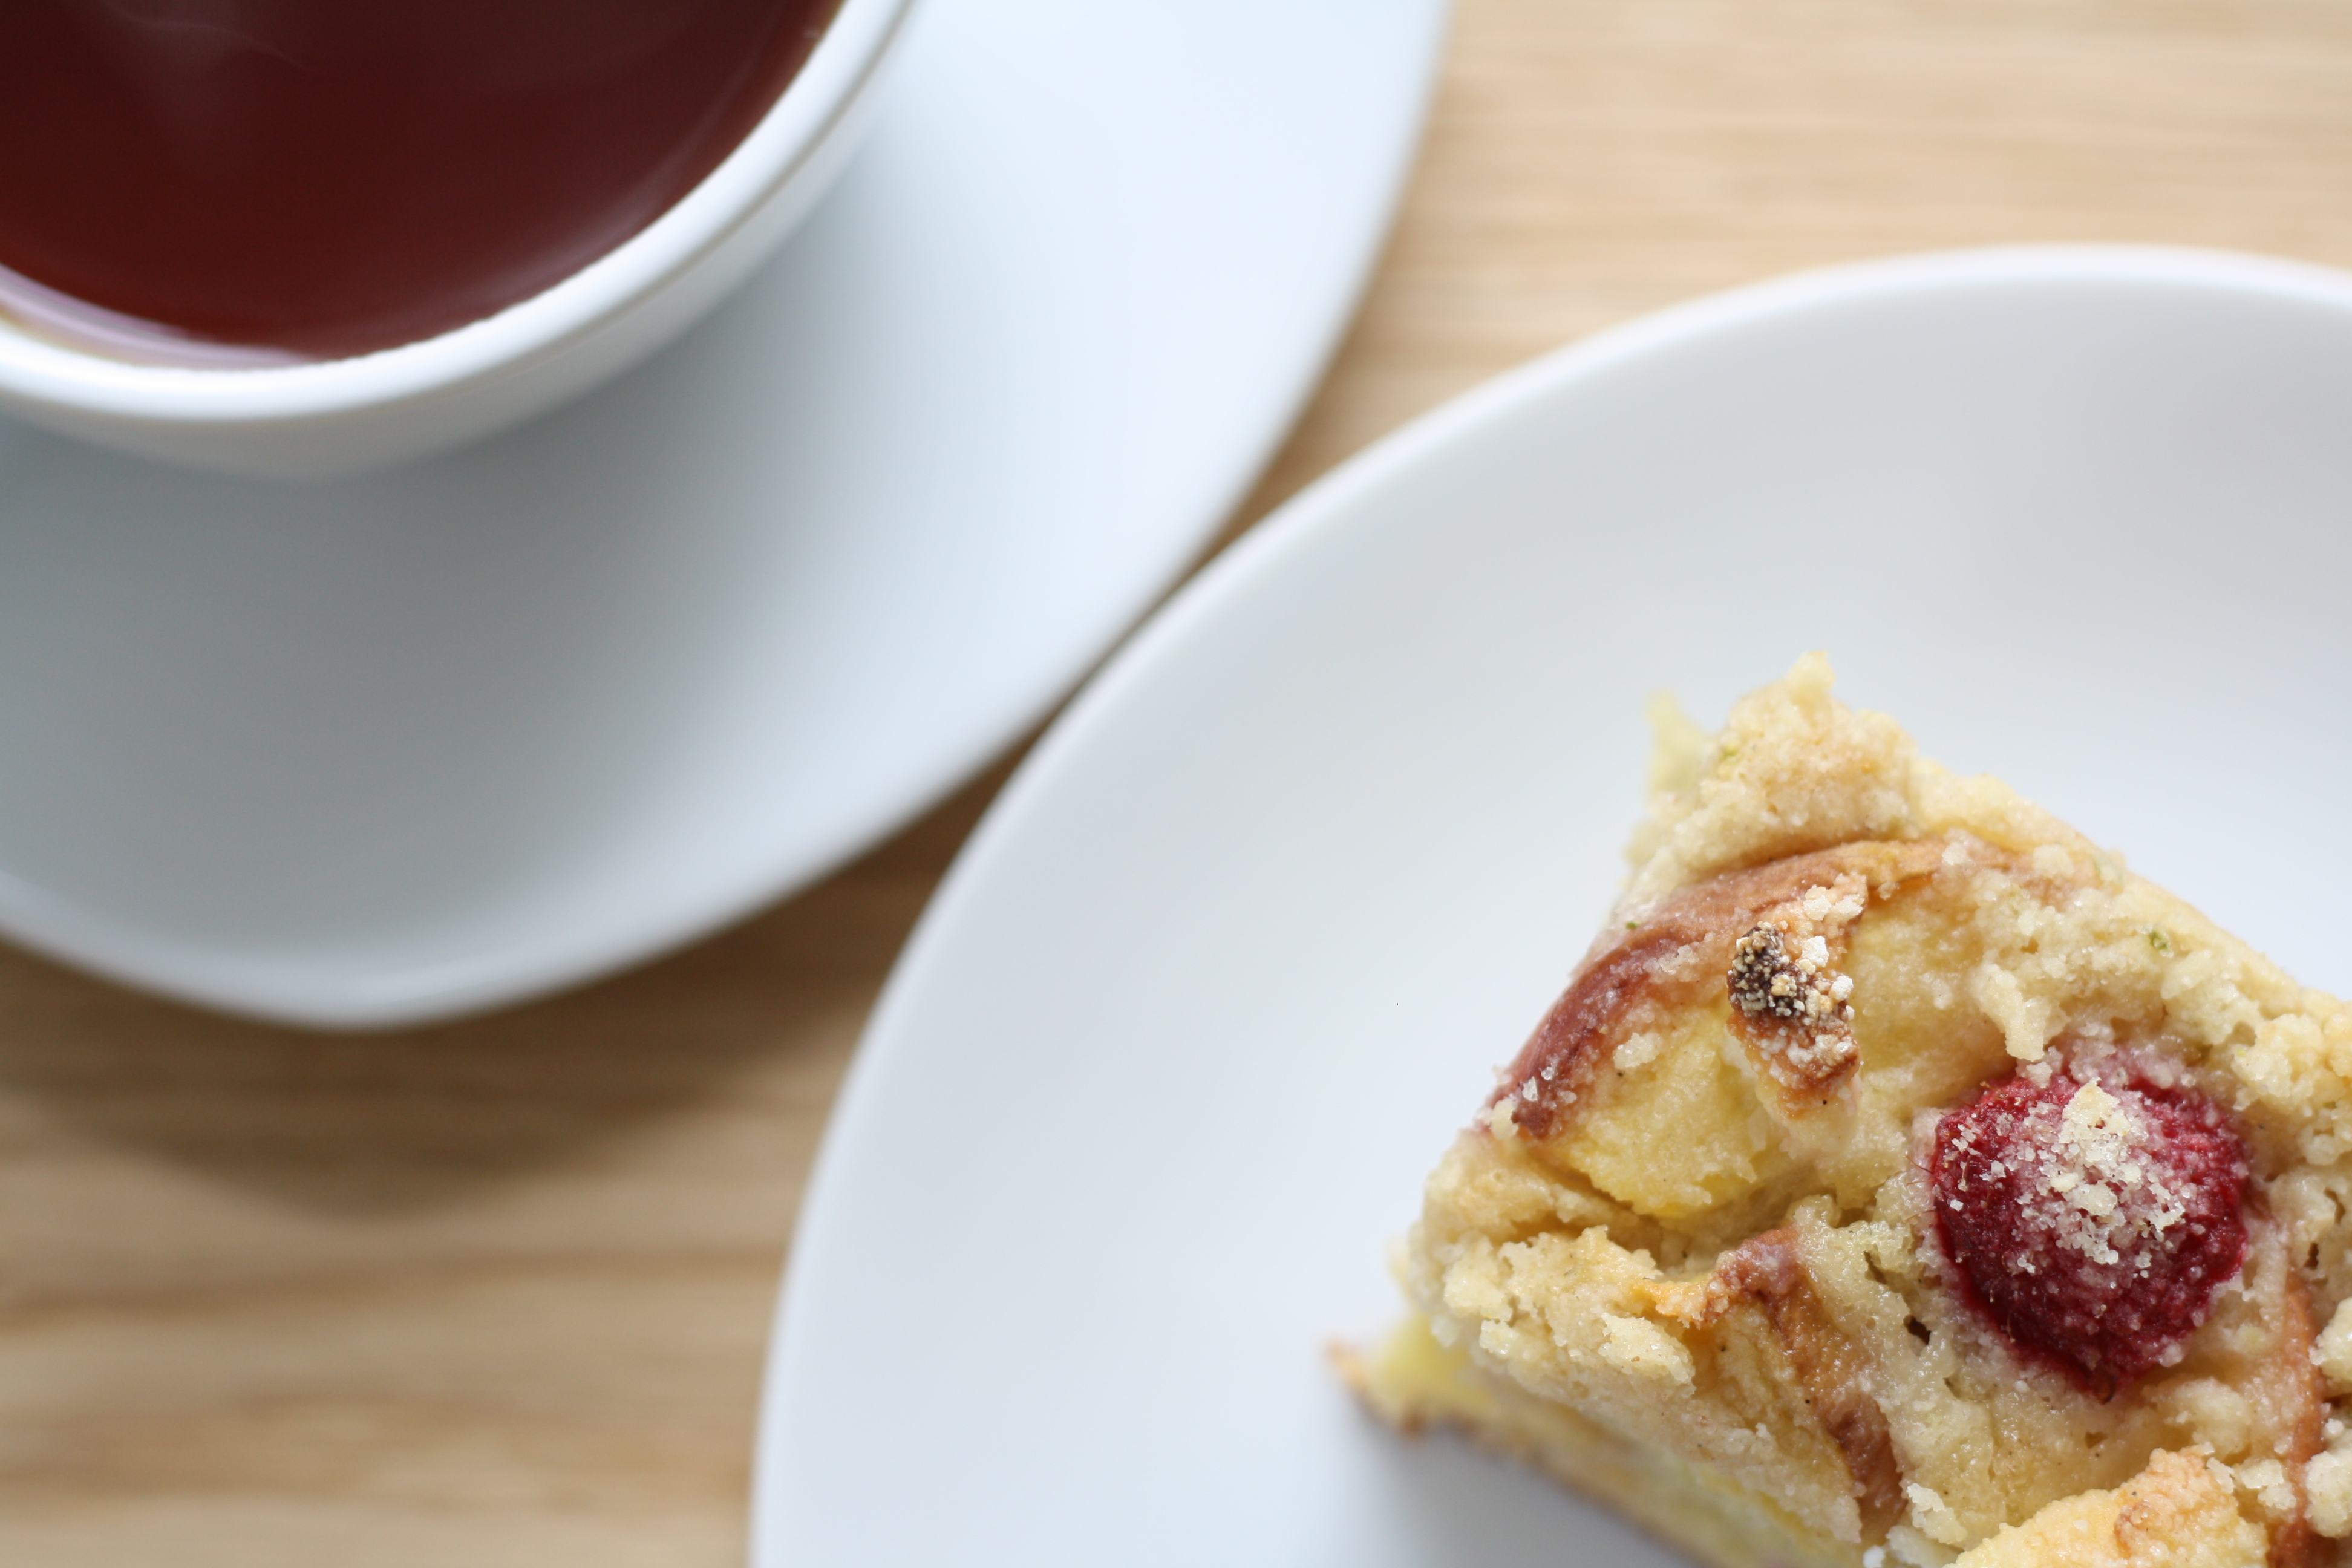
I don’t want to toot my own horn (what does that even mean?) but this cake is utterly scrummy. Super moist and light, with sweet and tart aspects from the fruit. It screams summer garden party and makes me want to dash up to my roof terrace immediately (if only it wasn’t so unseasonably cold!)

Strawberry layer

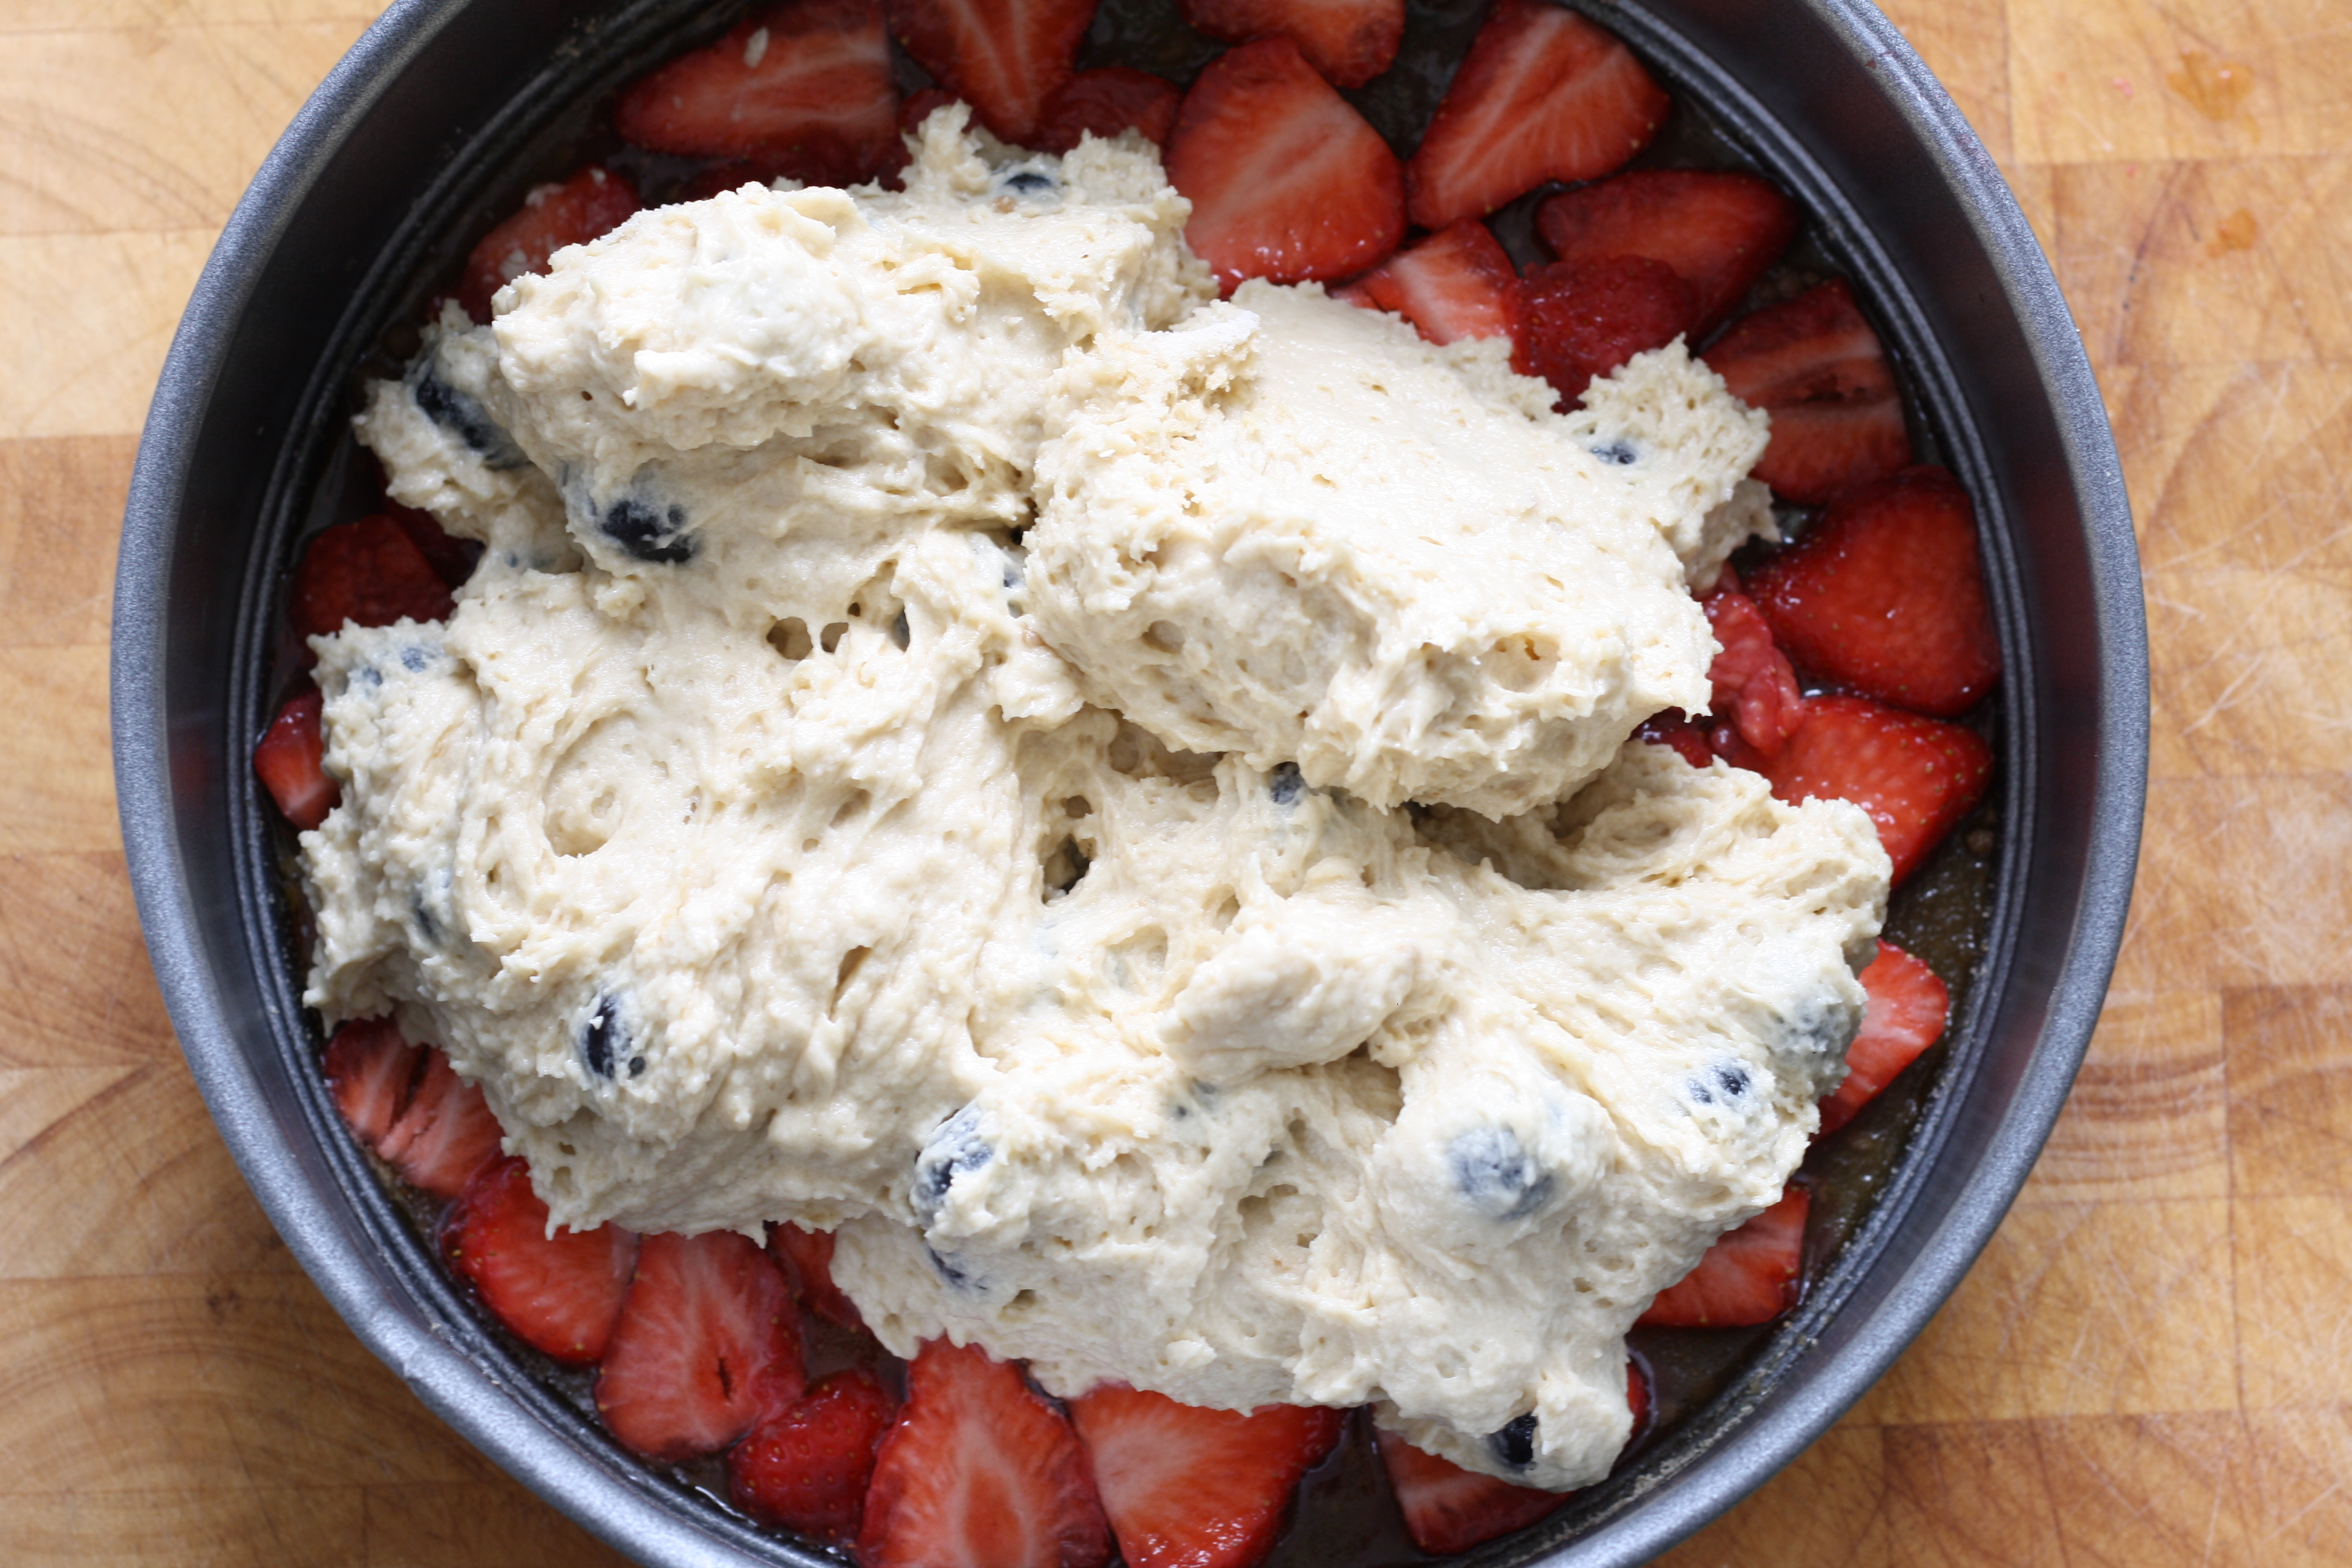
The method for making an upside-down cake is relatively simple. You start with a syrupy layer of fruit at the bottom of the tin and top it with a delicious light cake batter.

Batter layer

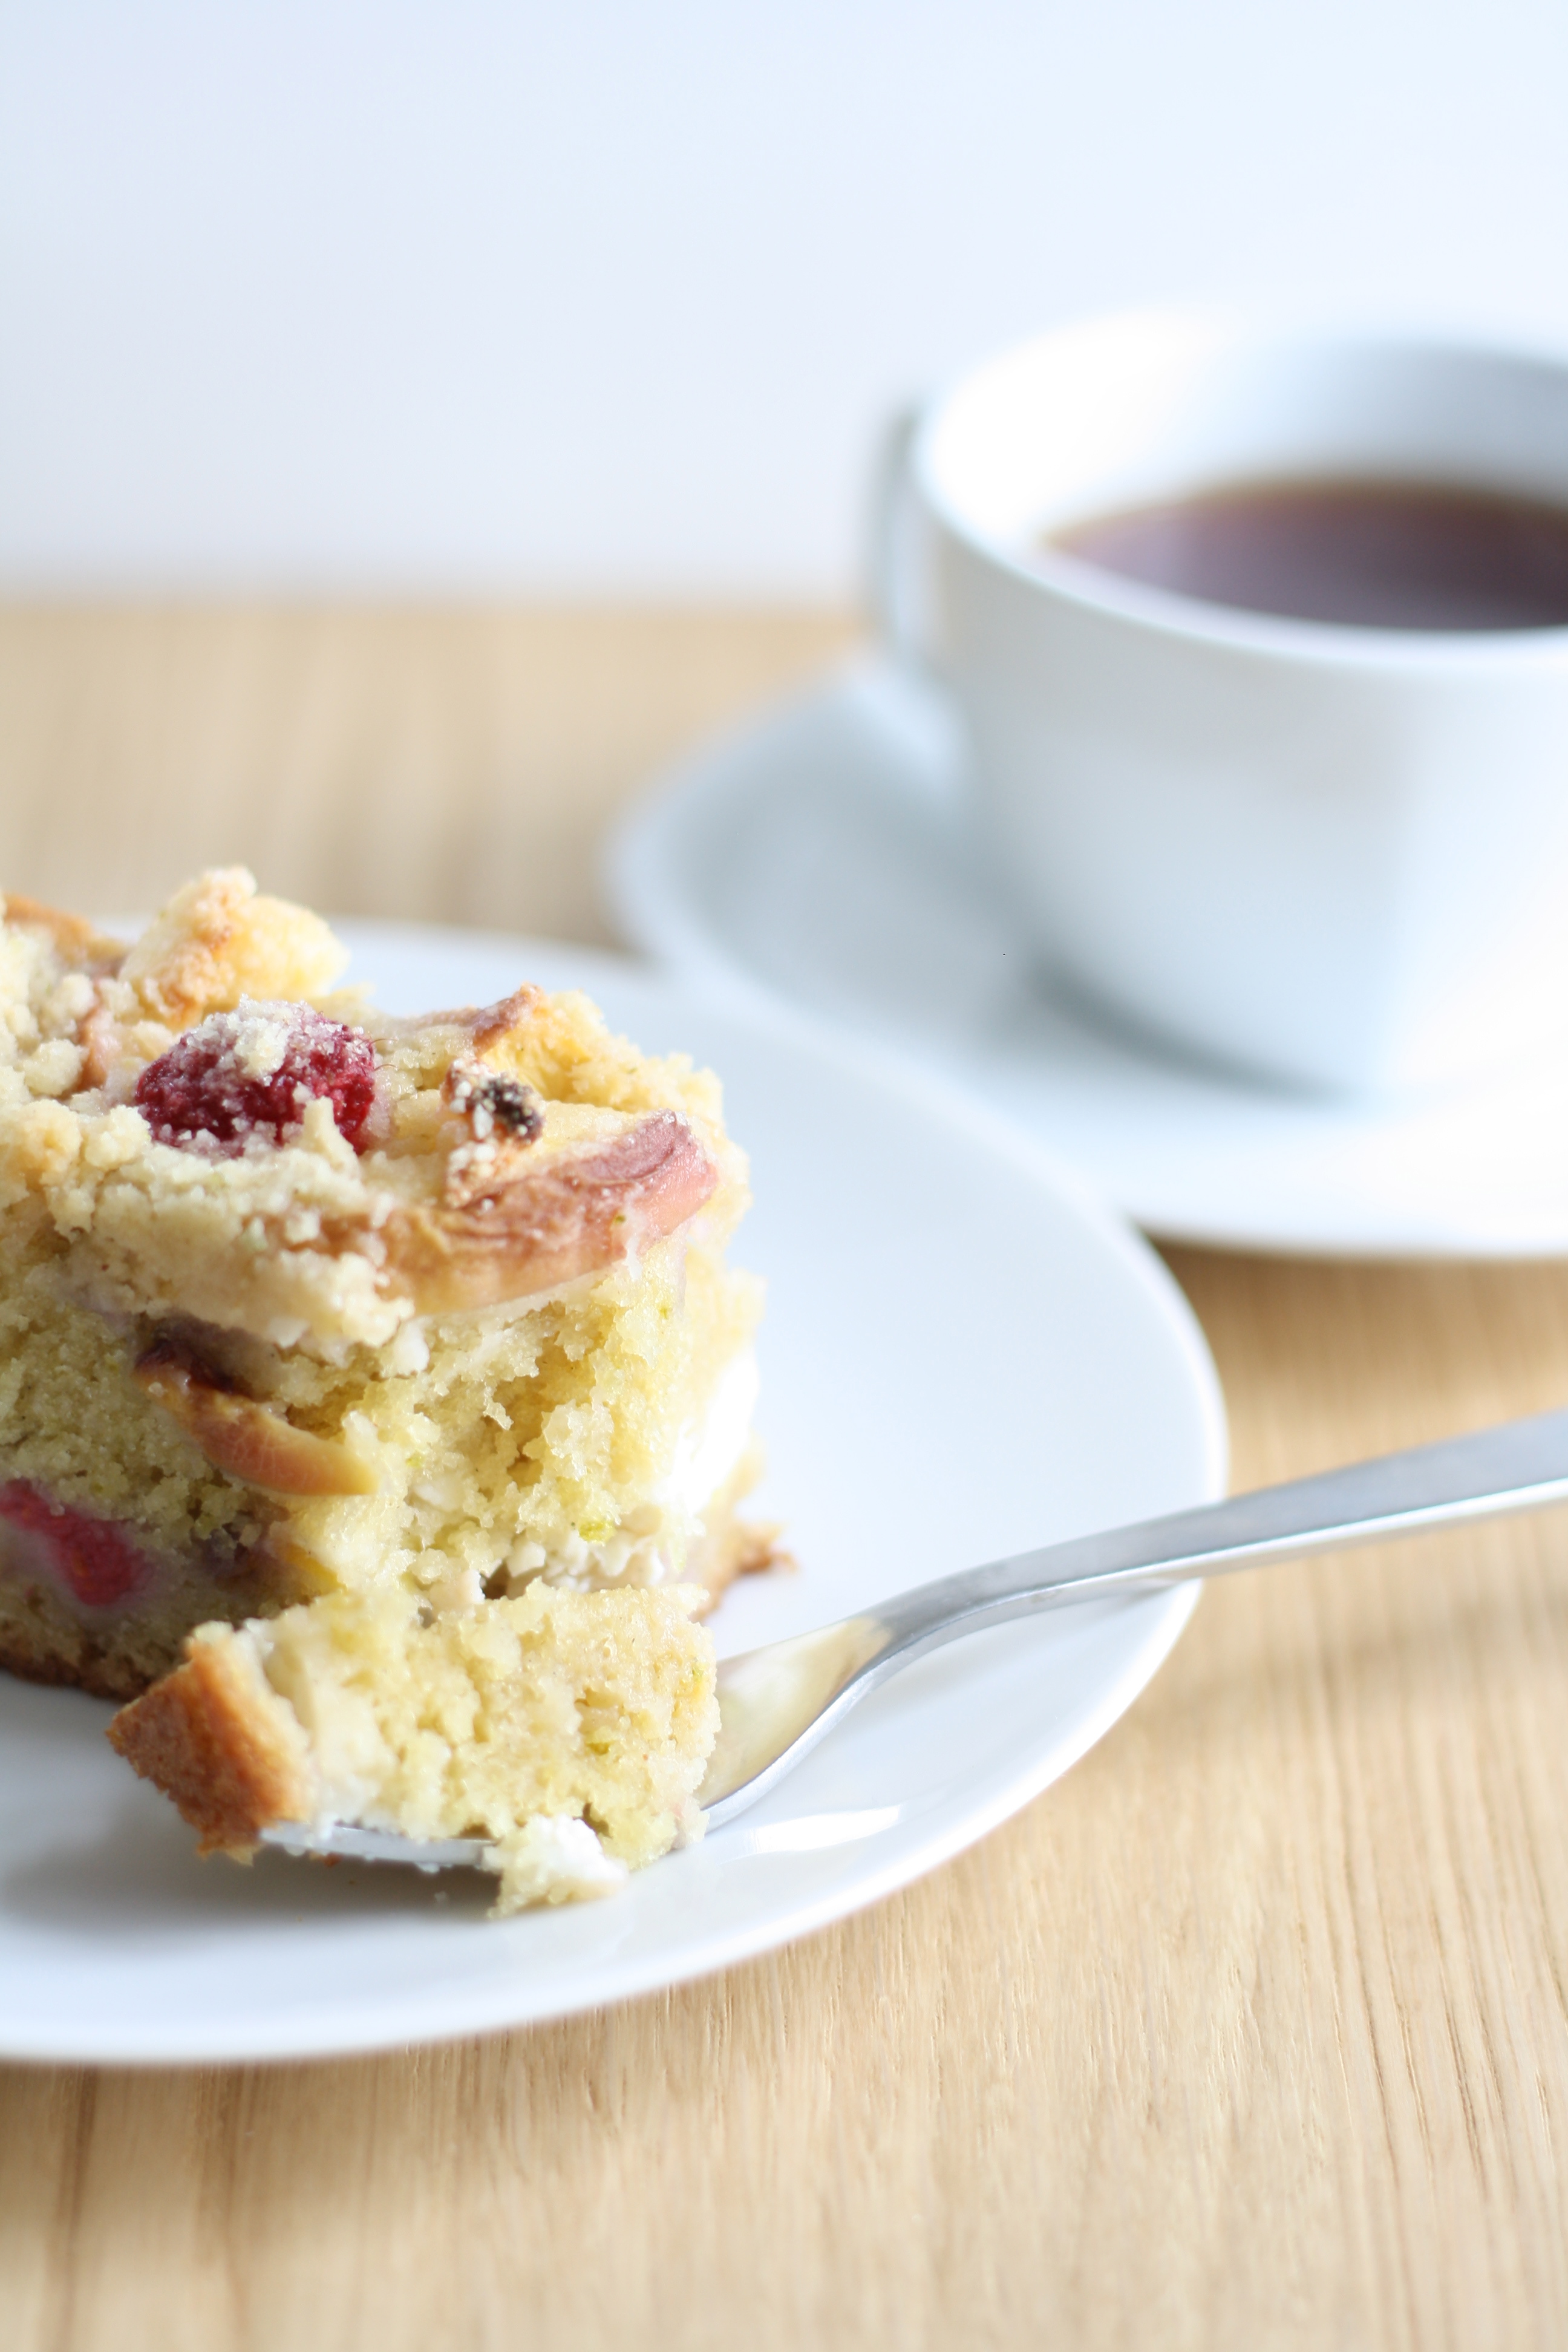
Once it’s baked, you invert it on a plate and eat two warm slices in quick succession, when no one’s looking.

Berry Upside-down cake 3

Berry Upside-Down Cake

Adapted from Joy the Baker
Makes: 1 9-inch cake

Ingredients:

Topping:

30g unsalted butter
50g brown sugar
150g sliced strawberries

Cake:

113g unsalted butter
134g brown sugar
1 large egg
1tsp vanilla extract
170g plain flour
1tsp baking powder
1/4tsp bicarbonate of soda
1/4tsp salt
160ml plain yoghurt (I used low fat but full fat will work just as well, no fat free though please!)
150g blueberries

Start by preheating your oven to 175 C / 155C fan oven / 350 F. Put the butter for the topping in the bottom of a 9-inch cake tin with sides of at least 2 inches (an 8-inch tin will work just as well). Avoid using a springform tin as the topping has a tendency to escape through the bottom (as I found out to my, very messy, dismay!) Pop the tin in the oven, and once the butter has melted take it out and put it to one side whilst you whip up the batter.

In a small bowl stir together the flour, baking powder, bicarbonate of soda and salt, then put it to one side.

In a large bowl, cream together the butter and sugar with a wooden spoon, until they’re very fluffy and a pale beige colour.

Next beat in the egg and vanilla. The mixture will become a little lumpy at this stage but persevere!

Add in half the dry ingredients together with half the yoghurt, give it a good stir before adding the rest. As soon as the mixture is combined add in the blueberries and give the batter a final stir.

Returning to your tin of melted butter, sprinkle over the brown sugar for the topping and then add a layer of strawberries. I went for a fairly haphazard look here, but as they will be on top of the finished cake you might feel the need to be a bit more exacting and employ some concentric circles.

Cover the strawberries with the batter, smooth it over and pop the tin in the oven for 35 minutes, until a skewer inserted into the centre of the cake comes out clean.

Let the cake cool for 10 minutes and then invert it onto a large plate. Serve warm or cold, with a glass of milk or preferably a pimms!
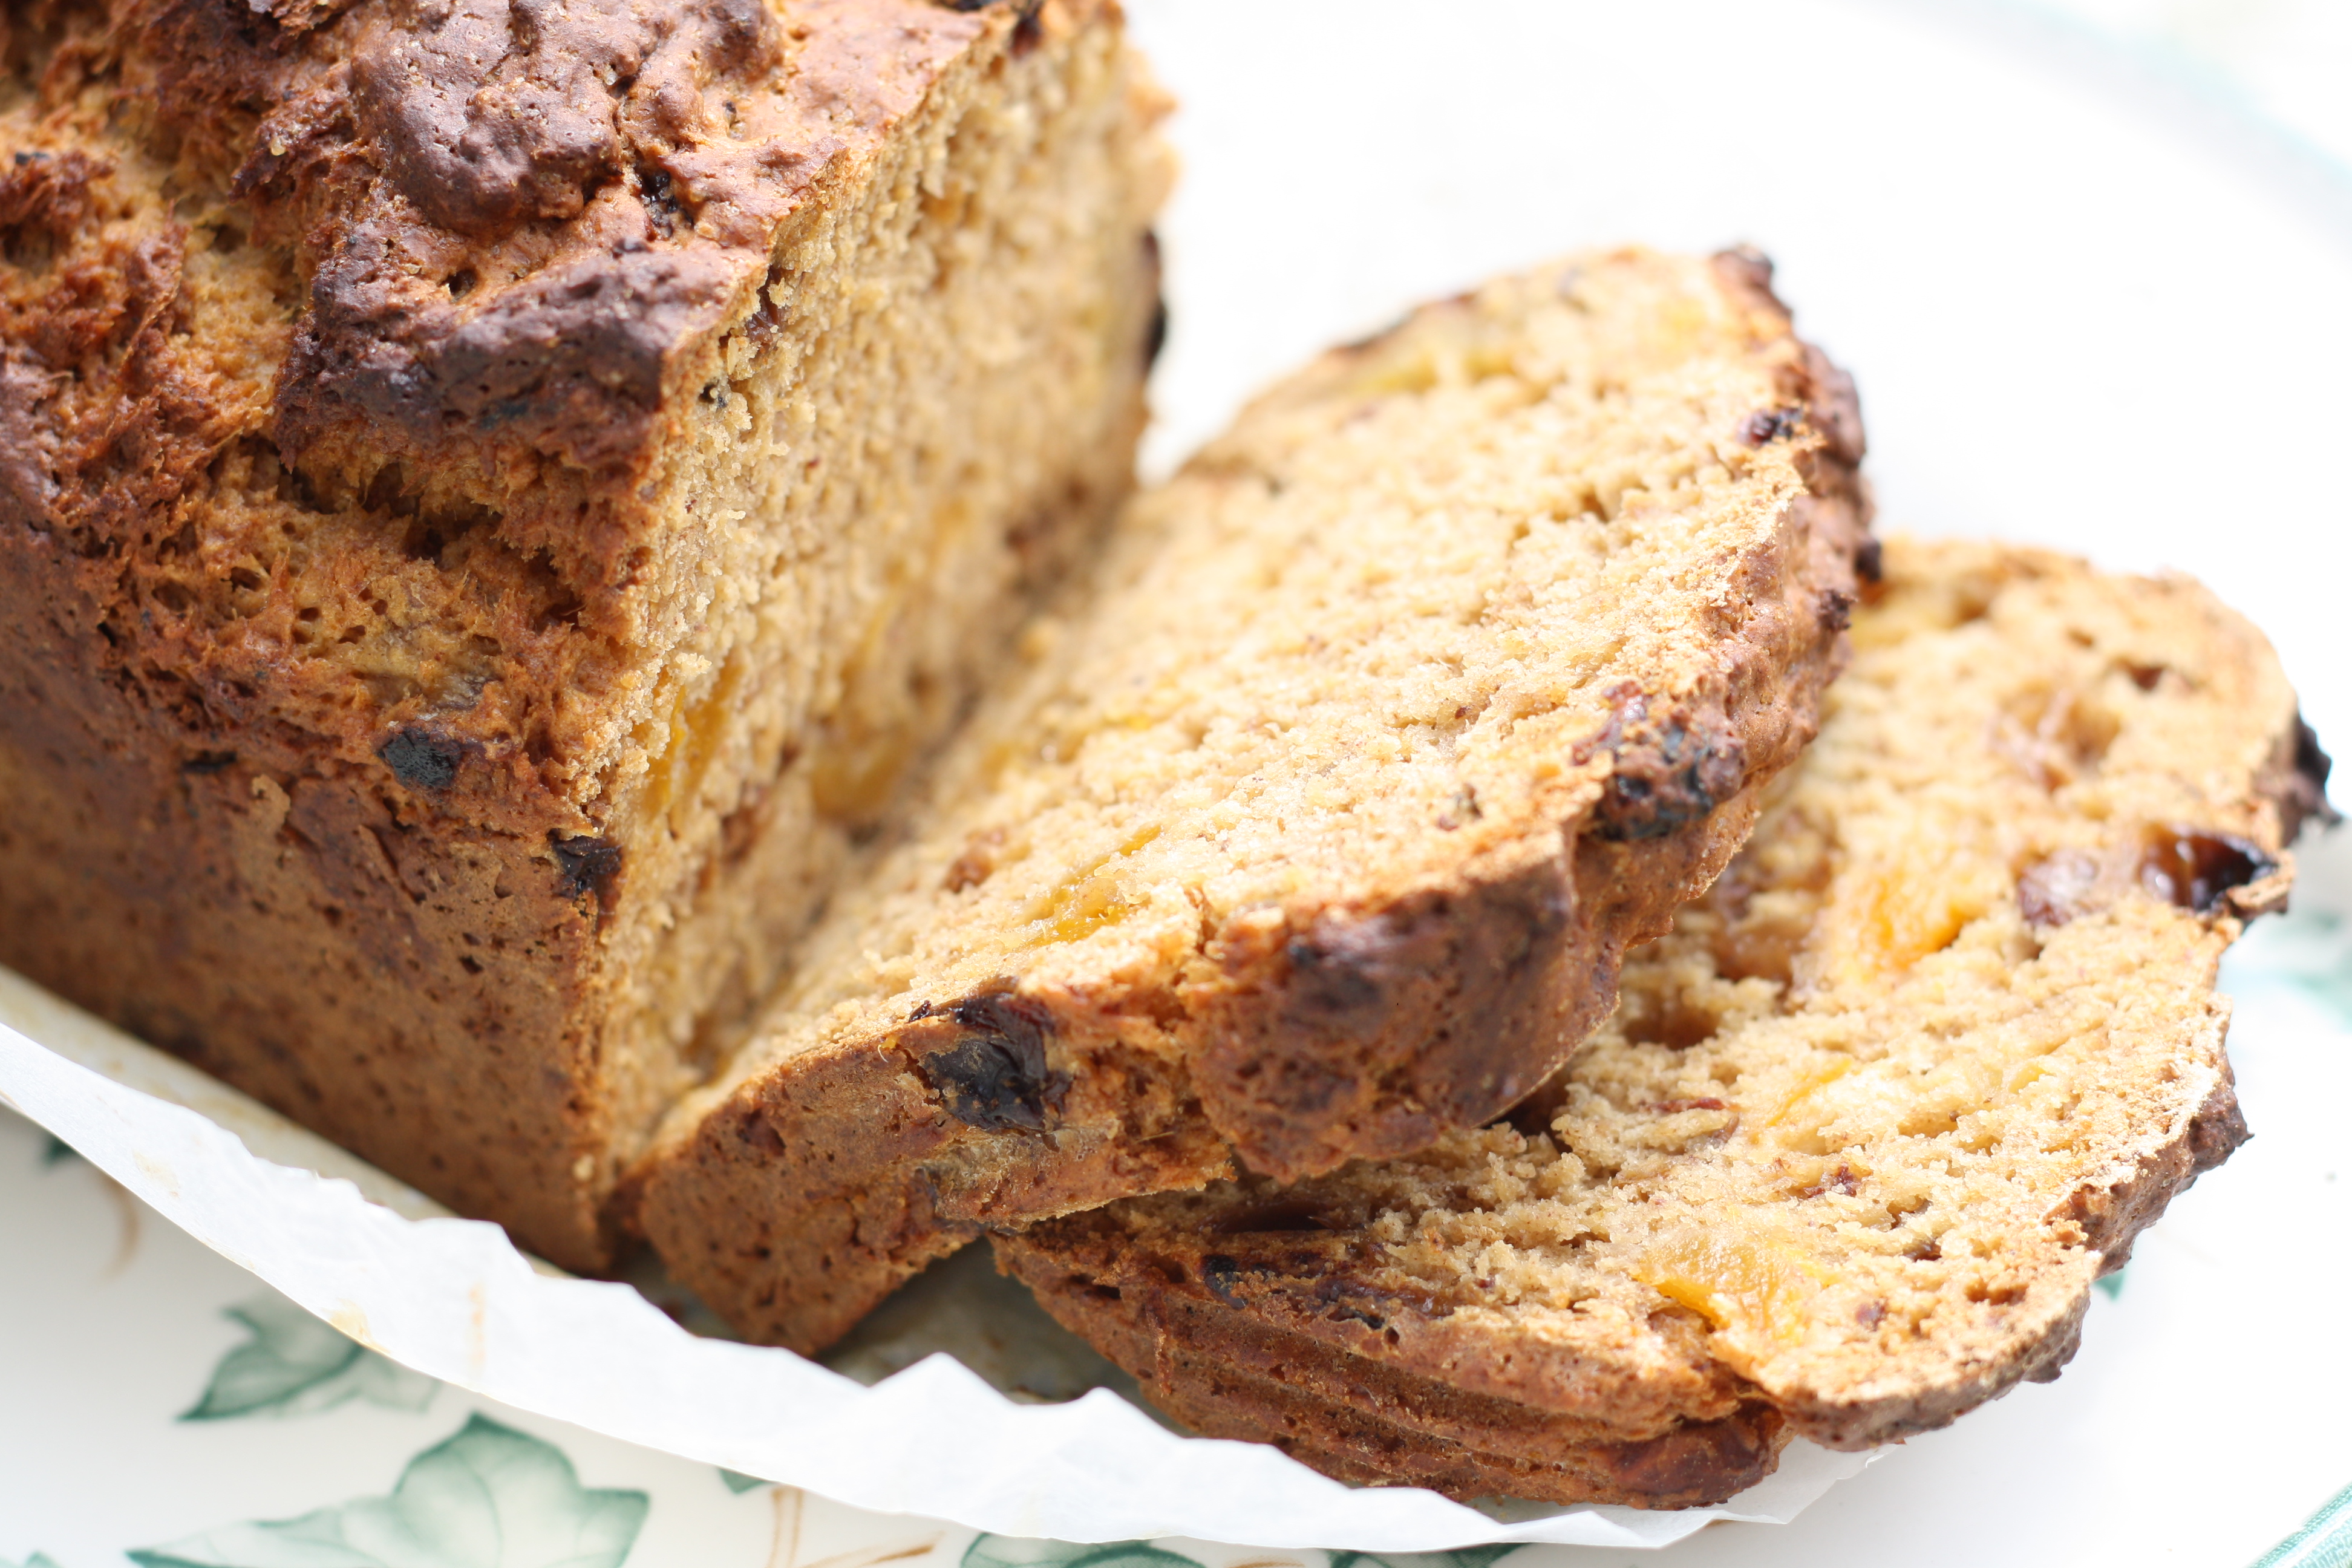
Berry Upside-down cake 4